

Flying freestyle drones is a difficult hobby to get into. While many pilots enjoy building as much as flying, it can be very difficult to understand what to buy and how it all goes together. The XILO 5″ Freestyle Beginner Drone Bundle – Joshua Bardwell Edition is designed to be a solution to this problem: everything you need, plus the guidance to help you build it.
But leaving it at that would give the wrong impression. This kit is for so much more than just learning to build your first freestyle rig.
What’s Included
This build kit gives you everything you need to assemble a freestyle done:
- 1 x XILO Phreakstyle Slam Freestyle Quadcopter – 5″
- 4 x XILO Stealth 2206 1700KV Motor (6S) or XILO Stealth 2206 2600KV Motor (4S)
- 1 x XILO Stax Combo – F4 Flight Controller + 45A BLHeli_32 6s 4-in-1 ESC
- 1 x XILO AXII SMA 5.8GHz Antenna (RHCP)
- 1 x XILO STAX 5.8GHz FPV Video Transmitter (25-600mW)
- 12 x Lumenier 5×5.3×3 – Gate Breaker Propeller
- 1 x XILO Phreakstyle Antenna Mount – SMA/RX – Black
- 1 x Caddx Turbo Micro F2 XILO Edition FPV Camera
- 1 x Custom XILO Bardwell Edition Zipper Case with Carrying Handle
You’ll need to supply your own battery, control link (radio control transmitter and receiver), and set of video goggles.
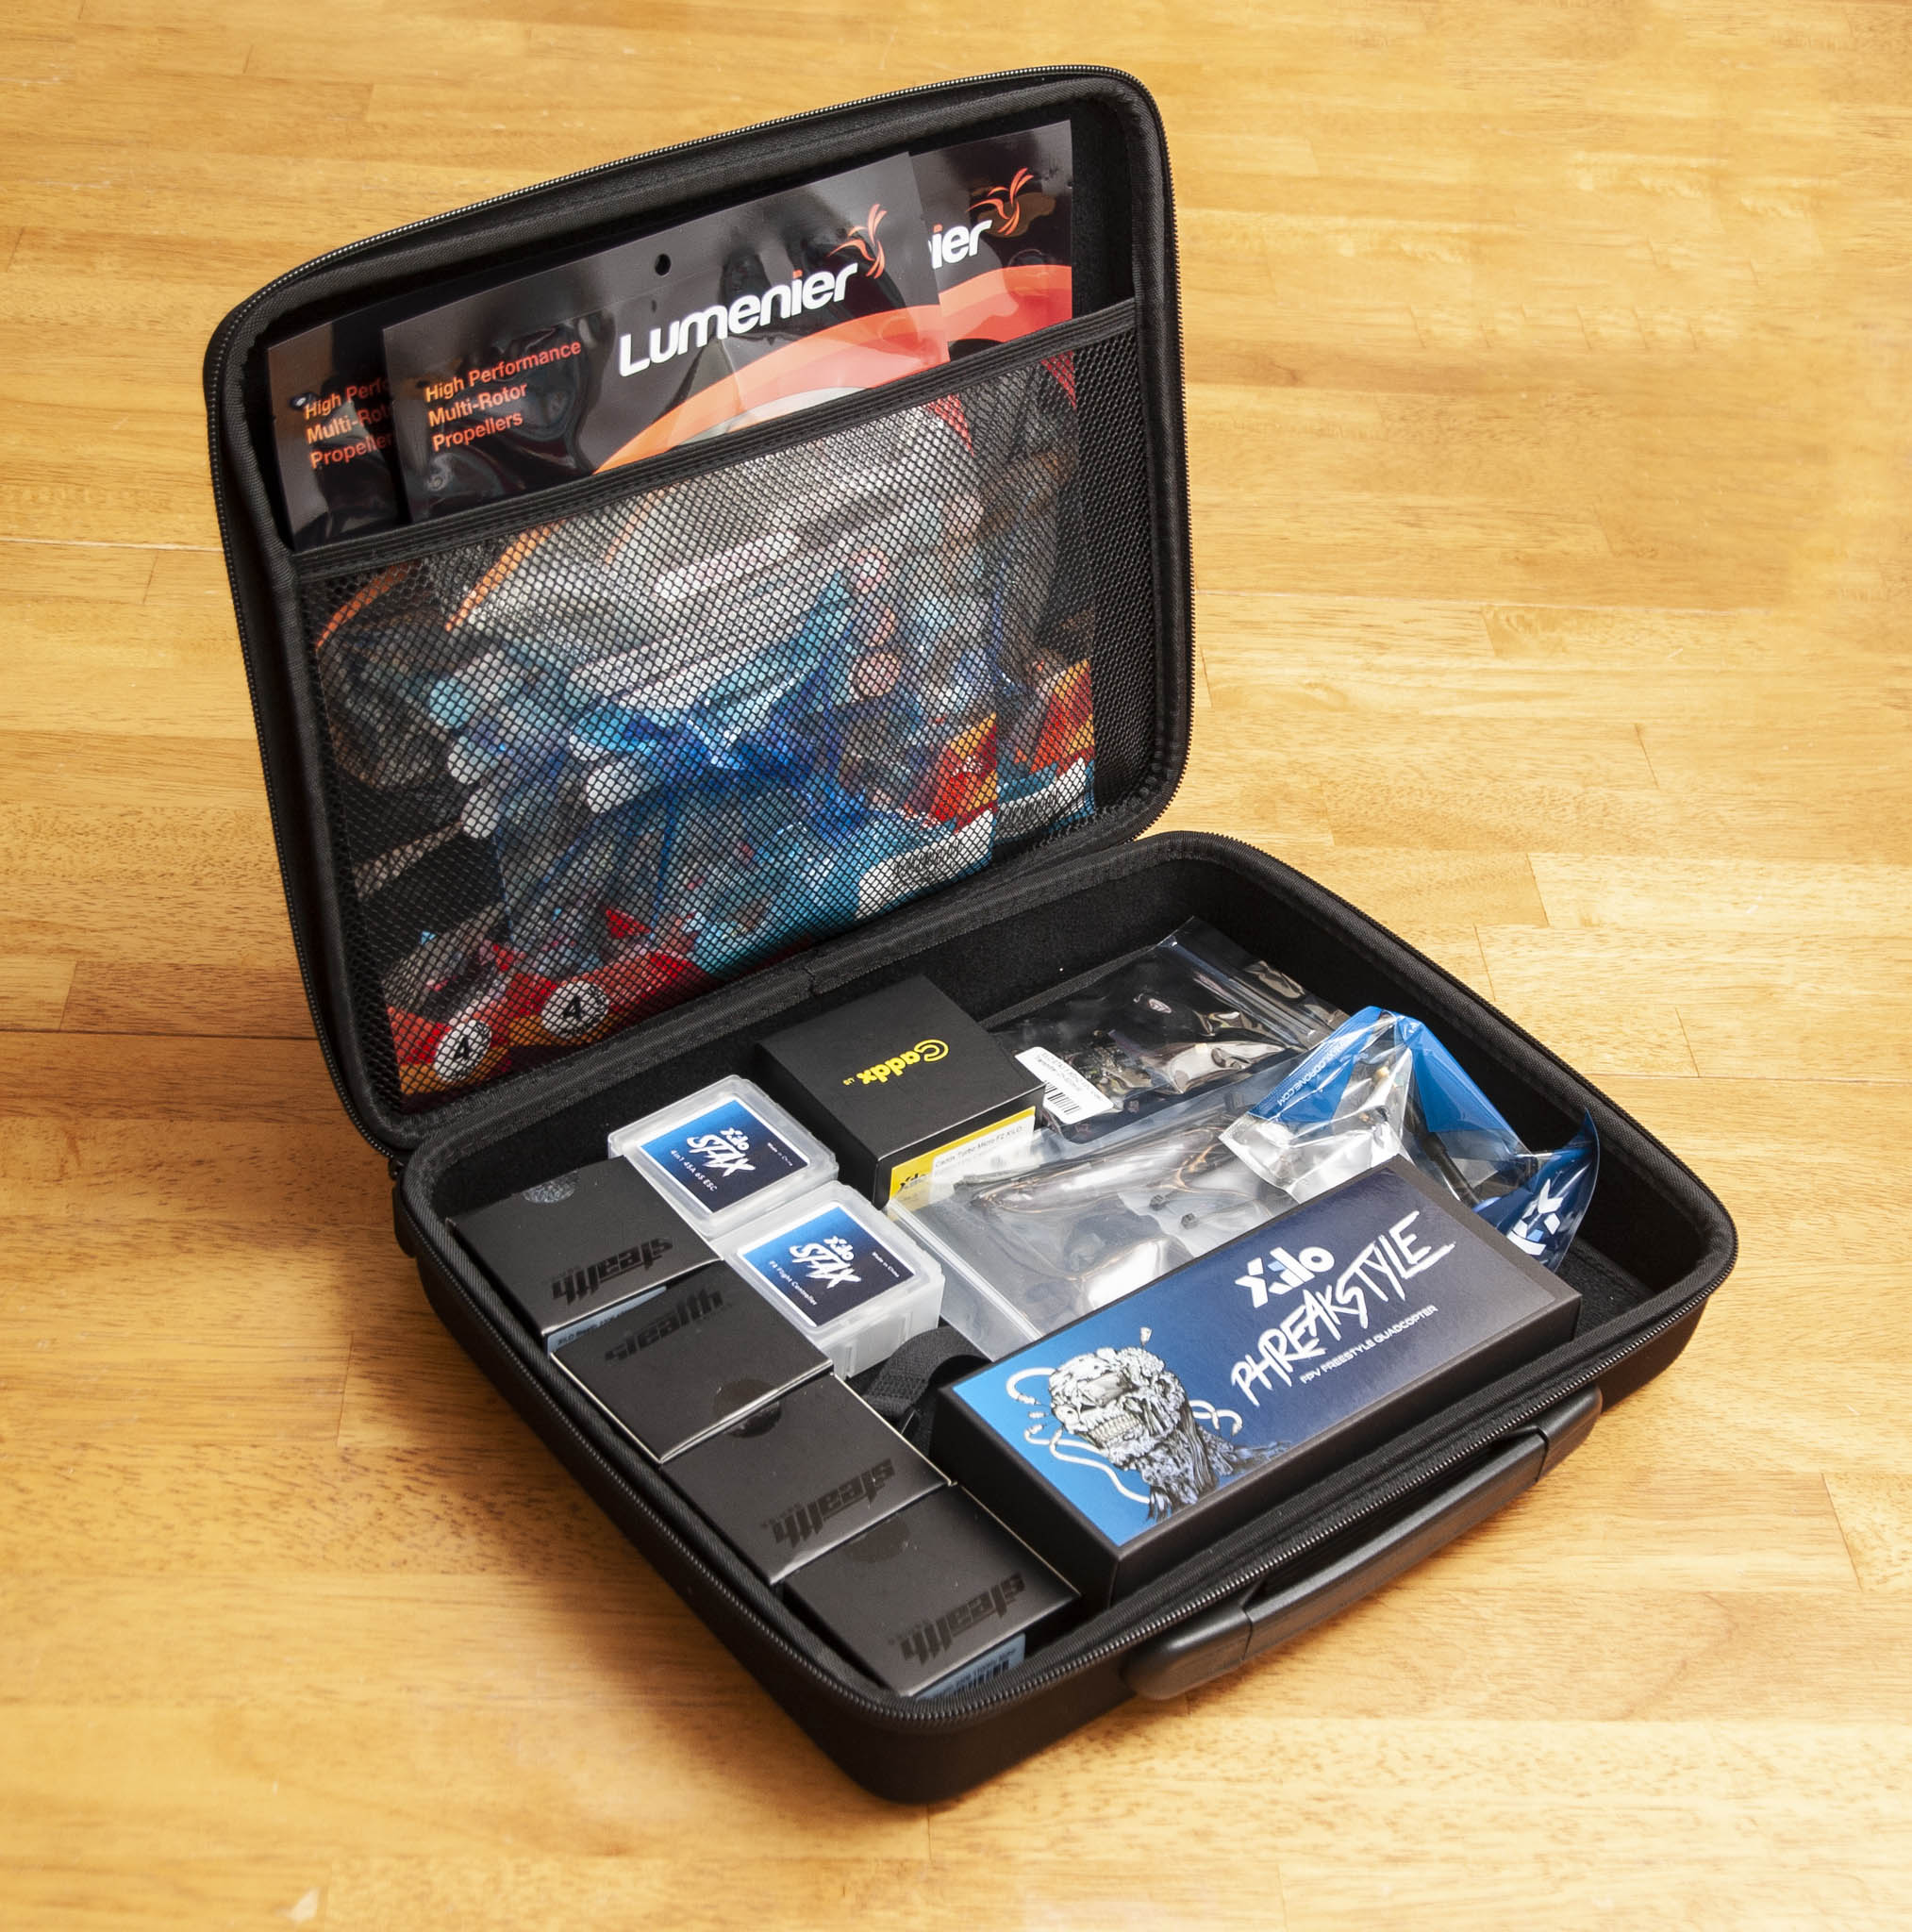 Everything arrives neatly packed in a zippered case, ready to pull out and get started.
Parts
Frame
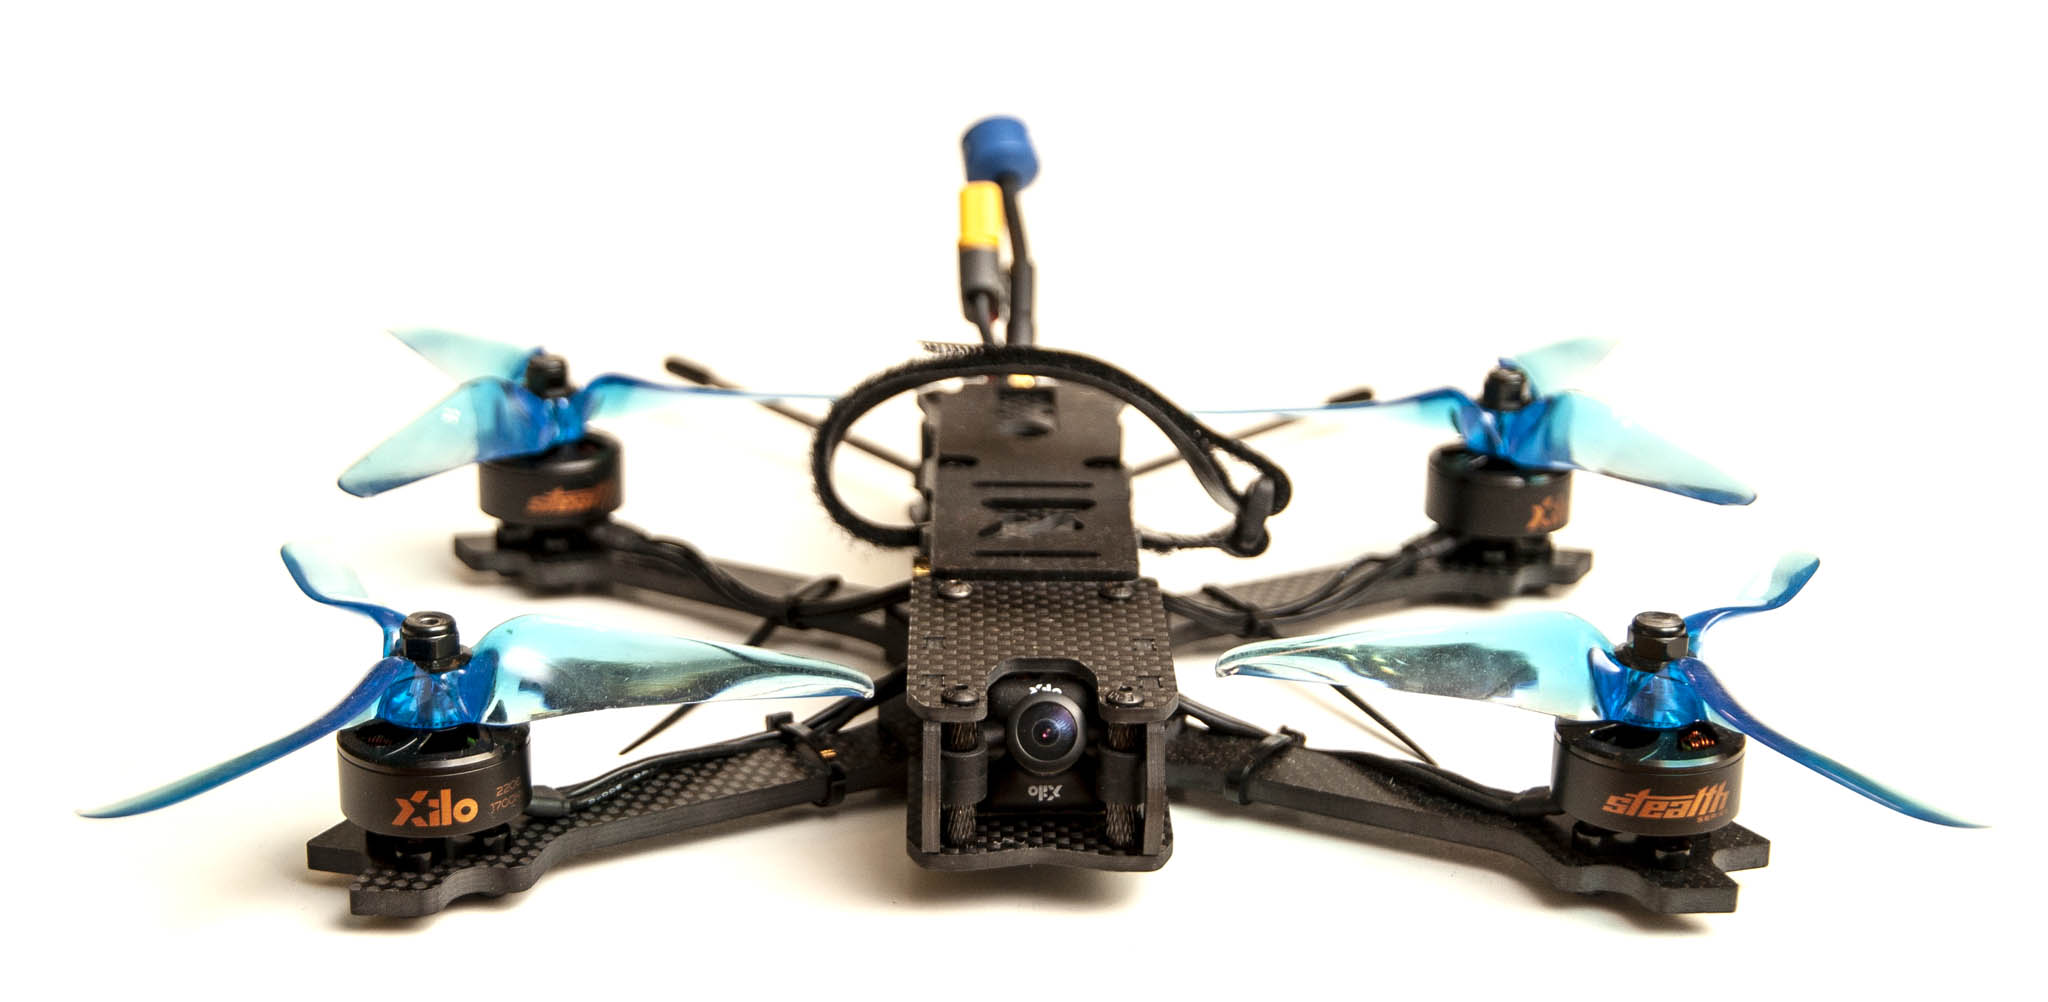
The Xilo Phreakstyle Slam frame is an extended squashed-X design. It’s a very common layout for freestyle, trading some weight away for durability, ease of use, and style. With this frame you get a lot of options. There are two separate mount areas for standard stack (either 20×20 or 36×36). The front stack definitely expects the user to go for 36×36 as the long screws do triple duty in holding the frame arms in place, the brace and bottom plates together, and serve as mount points for the FC/stack. The arms are cut in the direction of the carbon, showing attention to detail in manufacturing. Also included is an antenna mount for the VTx and receiver, and a foam battery pad. I would have liked to see the included battery strap and foam pad be just a bit more grippy—I’ll be adding a second, more grippy battery strap to mine.
Two thick side plates are included which provide protection to the camera. The amount of protection is pretty good here, preventing all but the most direct impacts from touching the camera. In most cases side plates like this are also used for camera mounting, but not here. The camera is mounted off the front standoffs with 3D-printed TPU holders. This is a functional and stable system though it allows a bit of horizontal play in the mounting. With the included camera, a small amount of frame is visible in the picture—and one side is just a little more visible than the other.
Flight Control
The kit includes a Xilo 45A BLHeli_32 4-in-1 ESC, paired up with a Xilo F4 Flight Controller. This is a fully featured stack with a proven set of core components. The feature set includes 32kHz gyro, BetaFlight OSD, Camera control, and a built-in hardware switch for the VTx power that’s integrated into BetaFlight. Beyond the standouts are a host of supporting features like a dedicated LED pad, battery monitoring and 16MB flash for blackbox. If you plan to use the FrSky XM+ or Crossfire Nano receiver, you can direct solder them to an open position right on the bottom of the board. External current sensing can be provided through the ESC connector.
As a set of components to build with, these are some of the easiest. The layout is simple with each component connection segmented into groups of pads located near each other. The pads are decently sized for easy soldering and are well labeled.
This simplicity comes at the price of some flexibility. This FC is definitely intended to be paired with a 4-in-1 ESC (which it is, in this kit). If you choose to wire to individual ESCs you’ll find it to be a challenge. The individual motor signal output pads are small and not well placed, and the FC doesn’t offer integrated power distribution. I’m also not a fan of the blue for the silkscreen labels. Blue has low contrast against the black board and isn’t always visible unless lighting conditions are good.
Power Delivery
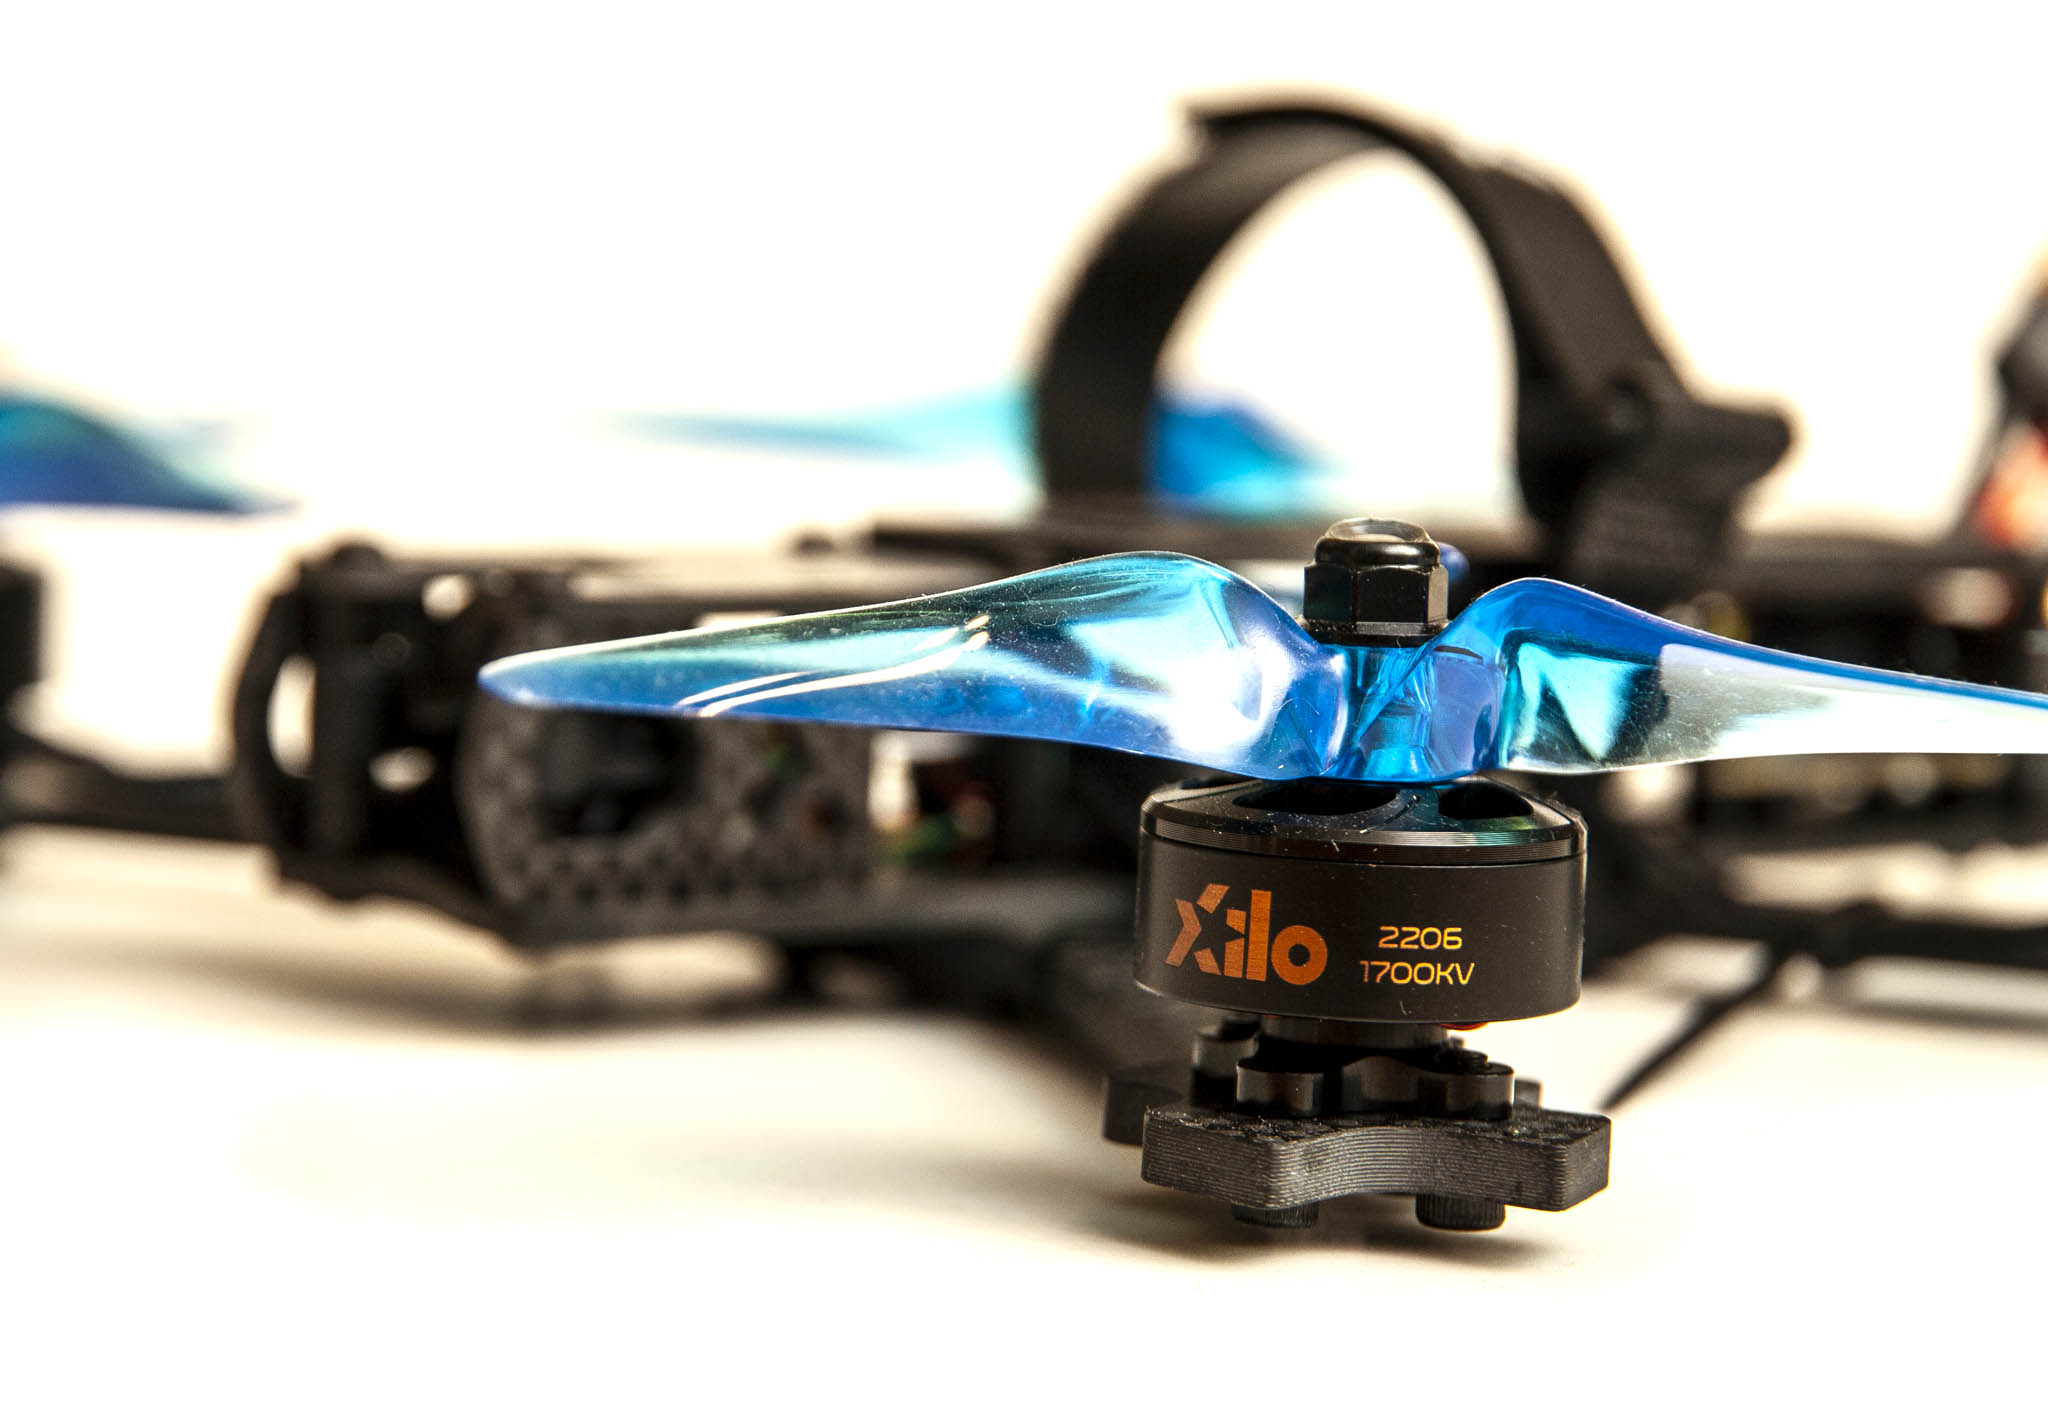
Getting power from the battery to the air is done through a 45A 4-in-1 ESC, into XILO Stealth 2206 1700KV Motors and out Lumenier 5×5.3×3 – Gate Breaker Propellers.
The ESC is rated up to 6S so nearly any motor can be used, and BLHeli_32 supports all of the most recent features like telemetry, voltage and current sensing, and bidirectional DSHOT. A massive 1000µf capacitor is included to soak up electrical noise.
Xilo Stealth motors offer many premium performance and durability features at a budget price: hollow shaft, N52 magnets, retaining screw (instead of a “C” clip), and a knurled prop deck to help prevent slippage. As an alternative, the kit can also be purchased with 2600KV Motors which are optimized for 4S batteries. GetFPV has selected relatively low-pitch props as a match which will provide good efficiency—though perhaps a little less punch than other options.
Video
The video section begins with a Caddx Turbo Micro F2 camera. The Turbo is a pretty decent camera with good color and response time. Out of the box the picture is too overly sharpened for my taste, but this can be adjusted through the camera’s settings. One unusual feature of this camera is the onboard microphone. If wired up, this allows the pilot to get audio feedback on what the props are doing in flight. (But don’t expect great audio quality.)
The second half of the video delivery is the transmitter. This Xilo VTx is easy to set up and provides a clean video output. Power levels from 25mW to 600mW offer a range that’s great for anything from light proximity to long range flights or freestyle play through heavy walls.
As an analog system you get extremely low, predictable latency and the ability to share your flights with others in real time. Not to mention the lower cost and greater amount of choice in analog gear.
Other Parts
In addition to the essentials, this kit includes a 3D printed antenna mount, antenna tubes, and a zippered carrying case. These are each good quality and should hold up well for a long time. They don’t seem to have been designed to be used together, though—you’ll have to bend or remove the antennas for the drone to fit in the case.
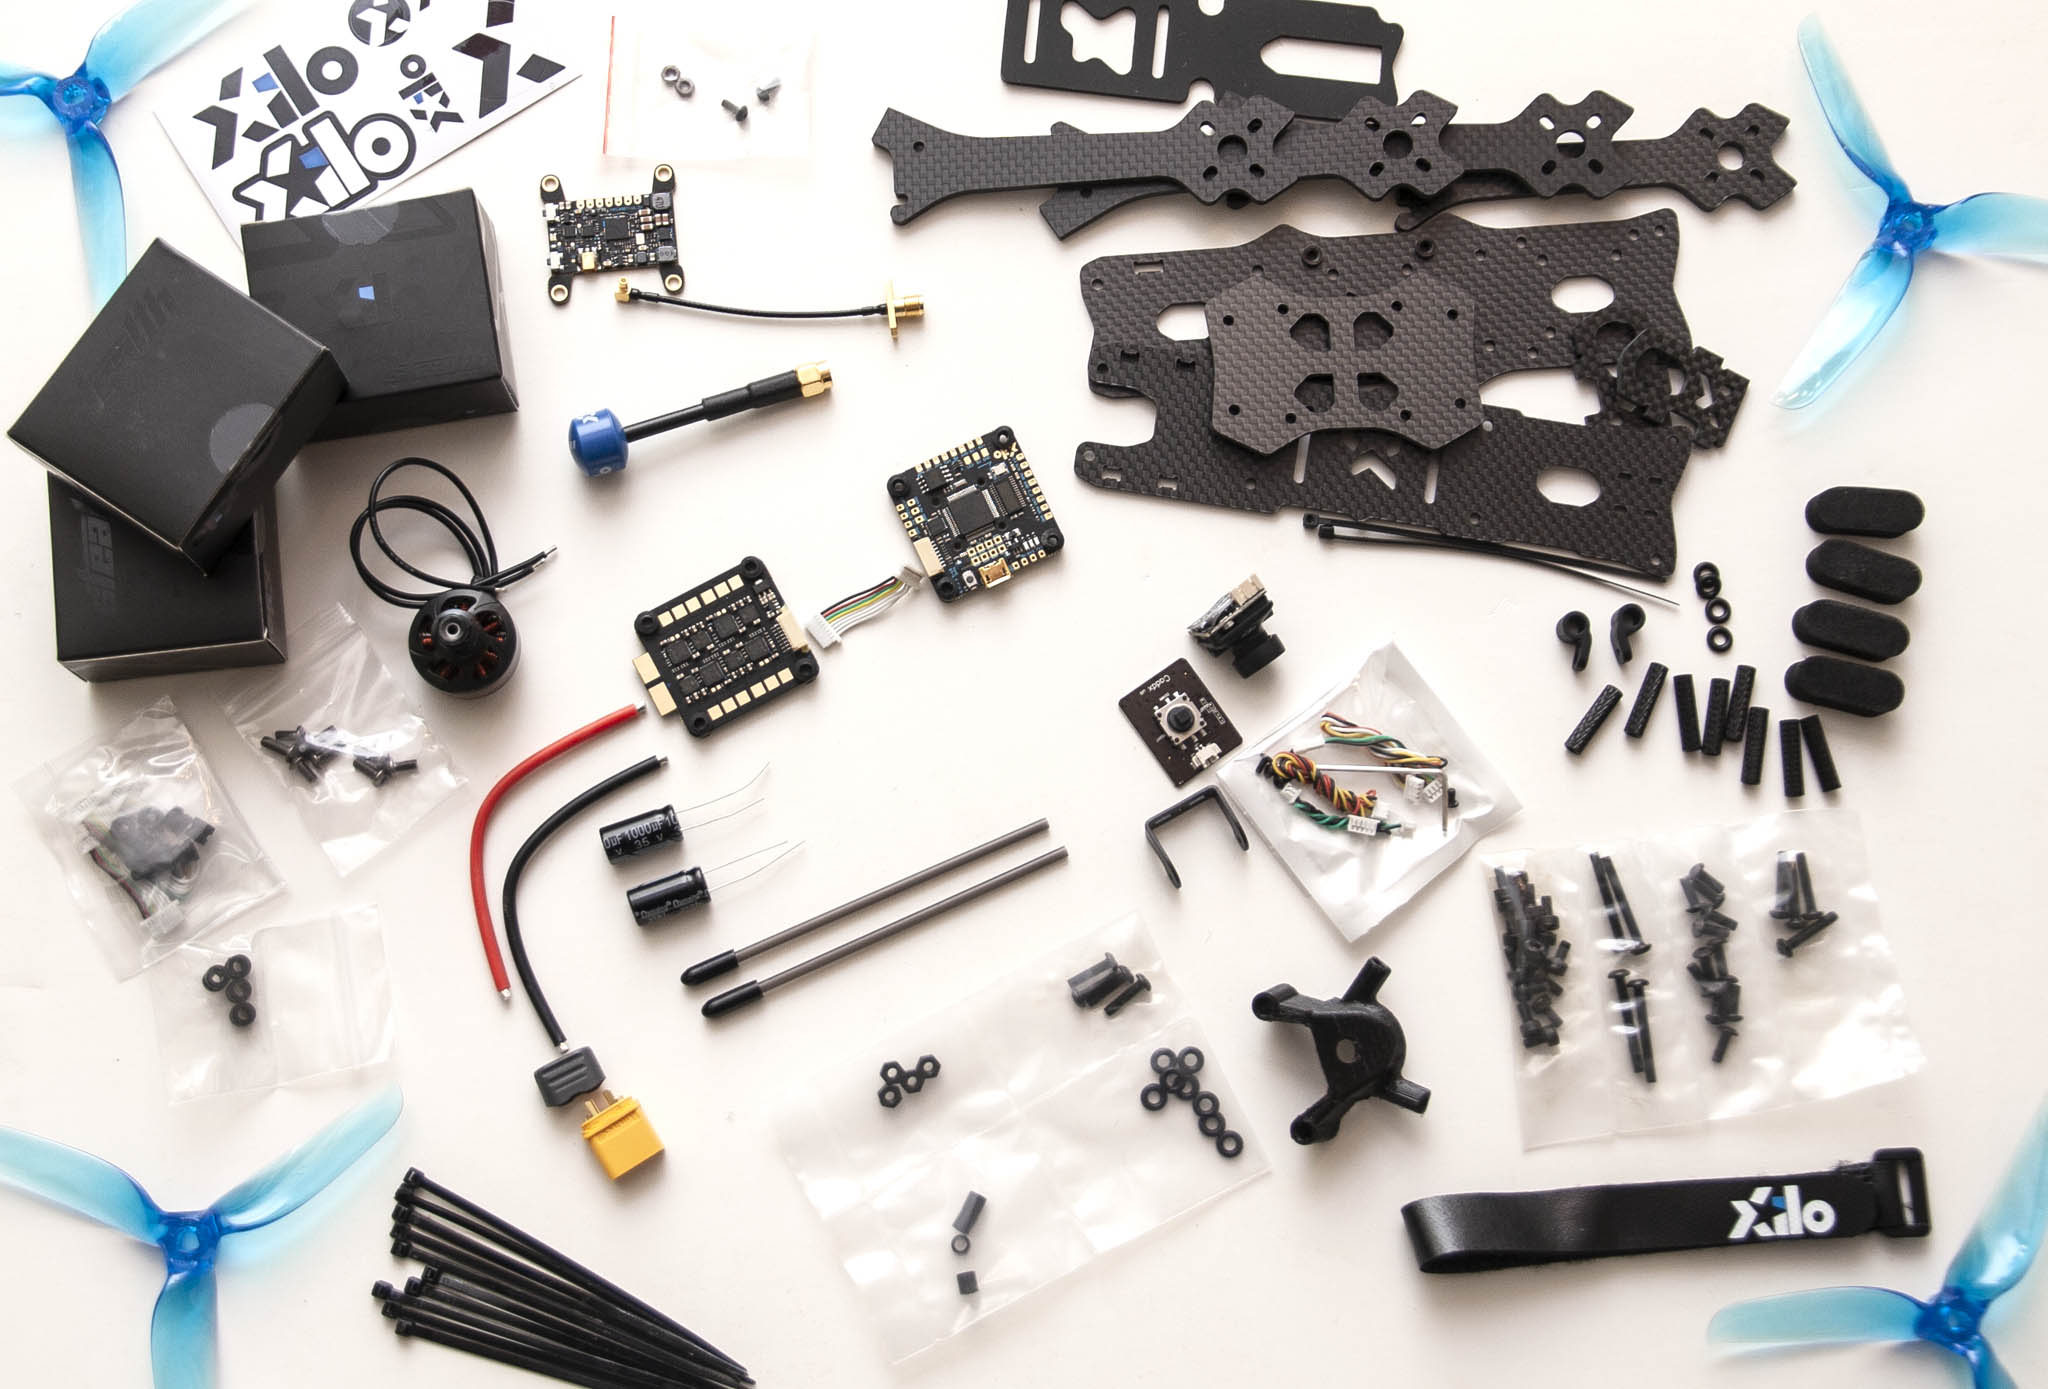 Don’t let the wealth of small parts intimidate you.
Setting Up
Since this is a build kit, the setup takes much more time than your typical prebuilt drone. However with this particular kit there are several resources dedicated to walking through its assembly. Take a look at Joshua Bardwell’s video series, and be sure to check out our own advanced build tips article which features this kit and how to set up some advanced features.
Build Quality and Durability
The Phreakstyle frame’s simple construction is not especially innovative, but is nonetheless a formidable freestyle platform. While you don’t get high-end features like beveled chamfering or cross-braces, this is still a strong frame with good rigidity and flight characteristics. I have no complaints and expect it to hold up well for a very long time. The frame nicely protects all of the components so crashing shouldn’t cause expensive electronics to break—but be sure to protect the motor wires in case a bent prop comes down across them in a crash.
The camera passes a good quality picture into a very capable video transmitter. Again, while nothing here stands out above other parts, both systems are quality components that deliver a great experience. I put a power meter onto the VTx to test its various output settings. Each one was very close to the stated output power. Flying some proximilty freestyle gave near perfect video even at 25mW. Having clear video is also a testament to the FC and ESC, since electrical noise in those components often causes artifacts in the picture.
One strange issue that I had with the FC was that the OSD failed. This happened to me twice on two different units I looked at. I spoke with GetFPV about this and they said they’d never encountered the issue before. It could be related to connecting Camera Control, since most users don’t make that connection. If this happens to you, get in touch with support and they’ll set it straight.
 When assembled, this kit delivers one excellent flight platform that will satisfy all levels of pilot.
Flight
In the air, this quad feels great. My completed build is about 380g. That’s about average for a freestyle frame, but definitely too heavy for the serious racer. It provides a flight feel that’s easy to handle and cruise around on, nicely complementing the Betaflight default settings. As a first 5″ frame this would not disappoint. As an experienced pilot, I’m still really happy with it. This is a craft that you fly not for its speed or handling, but simply for the joy of flying it.
Make no mistake, it’s fast and it handles very well. It’s just not top-tier in either category. I built the 6S version, though I’m more used to 4S craft. The 1700KV motors have a lot of the same feel as 2600KV on 4S, but the reduction in battery sag further smooths out the experience. There’s plenty of power available for punch-outs that provide lots of hang time. This powertrain can also handle carrying an action camera such as a GoPro without any trouble.
Conclusion
The XILO 5″ Freestyle Beginner Drone Bundle – Joshua Bardwell Edition is a joy to own. I had a great time assembling the kit. With well-matched parts, easy to use components, and a ton of great video content to help assembly, it’s never been easier to build a freestyle drone on your own. While the Phreakstyle kit is marketed for beginners, you get a drone that will satisfy pilots at all levels. The flight is smooth and fast, the frame is durable, and all for a very reasonable price. It’s easy to recommend this kit for anyone who wants to take a serious dive into building and flying freestyle drones.