

The Shark Byte Digital HD FPV system from Fat Shark is a high definition 720P 60fps video transmitter and receiver. It’s Fat Shark’s second attempt at HD video, and arguably far more successful than its first.
Overview
For years, FPV pilots had to use low-quality analog video to fly. Transmitting high-quality video in real time proved challenging until DJI broke through. But the DJI system is not without issues, and Fat Shark has introduced a new HD video system that target’s DJI’s shortcomings. That system is Shark Byte.
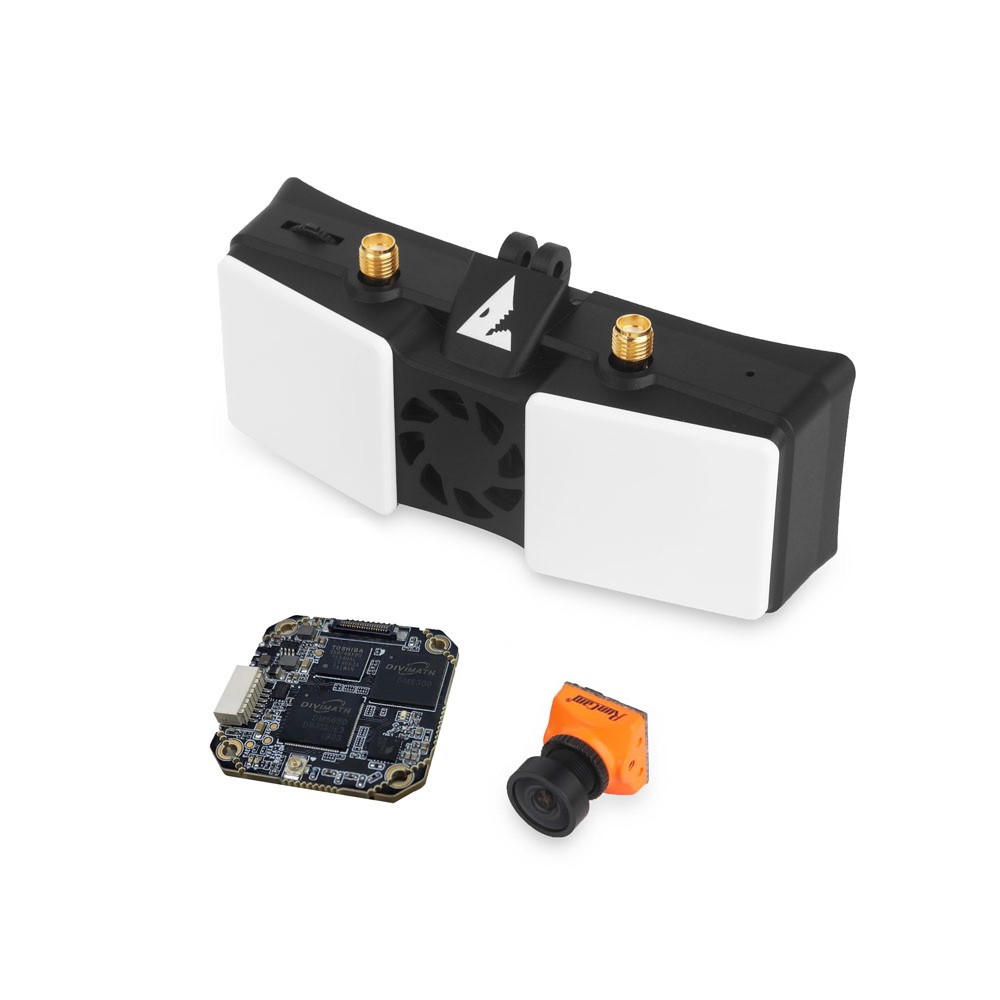
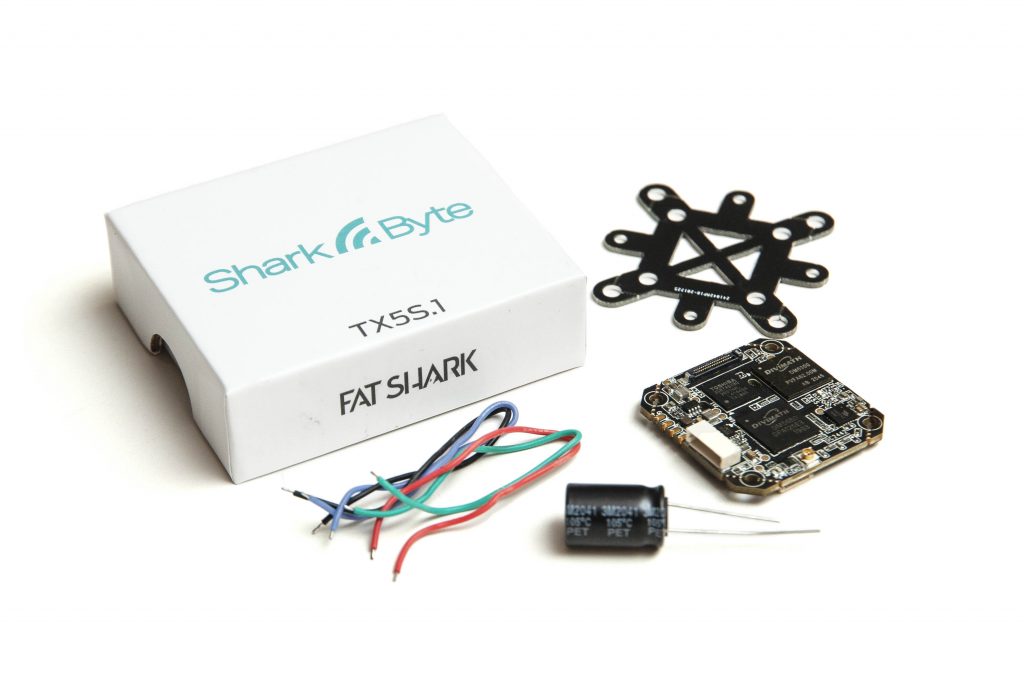
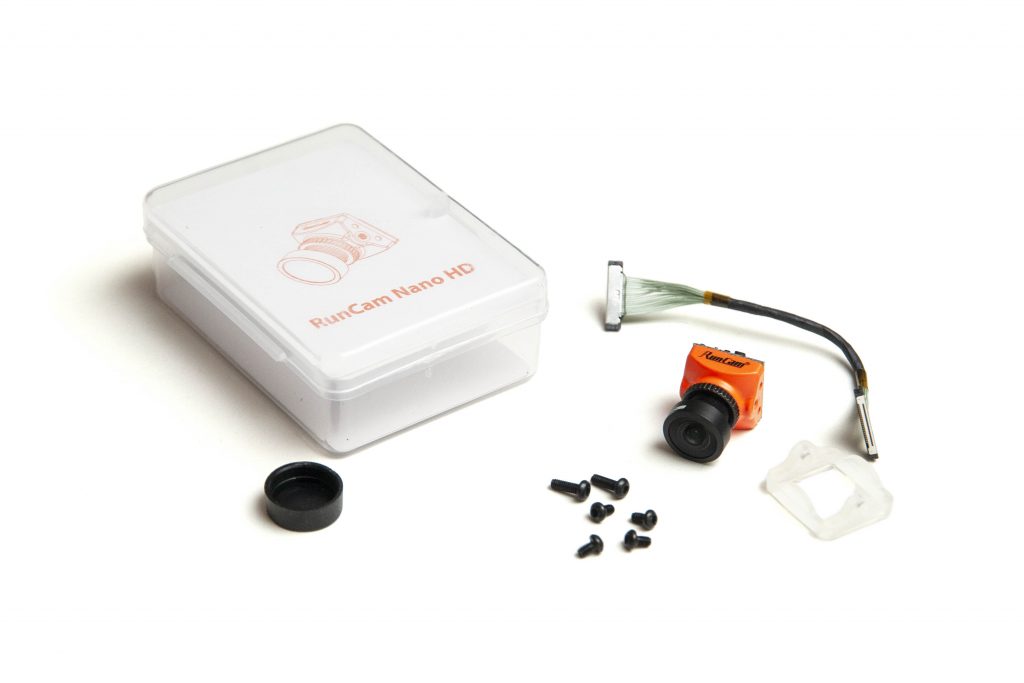
For this review, we also looked at the RX5.1 Receiver Module, TX5S.1 VTX and Runcam Shark Byte Nano Digital HD Camera. There are a few different options available for all of these components, such as the Scout HD goggles, and TX5R.1 Transmitter.
Specs and What’s Included

- 720P 60FPS HD digital image transmission
- Transmits over 5.8Ghz, “Raceband” frequencies
- Input range of 8–16V, 5.5mm barrel jack
- 80.3g
- 105 x 21 x 39mm
The receiver comes with a short mini-HDMI cable, A JST-XH 3-pin (2S balance plug) to barrel plug power adapter, and a voltage-regulating power cable with XT60 input and two barrel plugs for output. With a 9–18V (3S or 4S Lipo) as input, you get a regulated 7.8V out. You’ll also get a small cable for updating video transmitter firmware, a camera control joystick, and a replacement goggle fan cover with added screw mount. (Somewhat surprisingly, no stickers.)
Features
HD Video
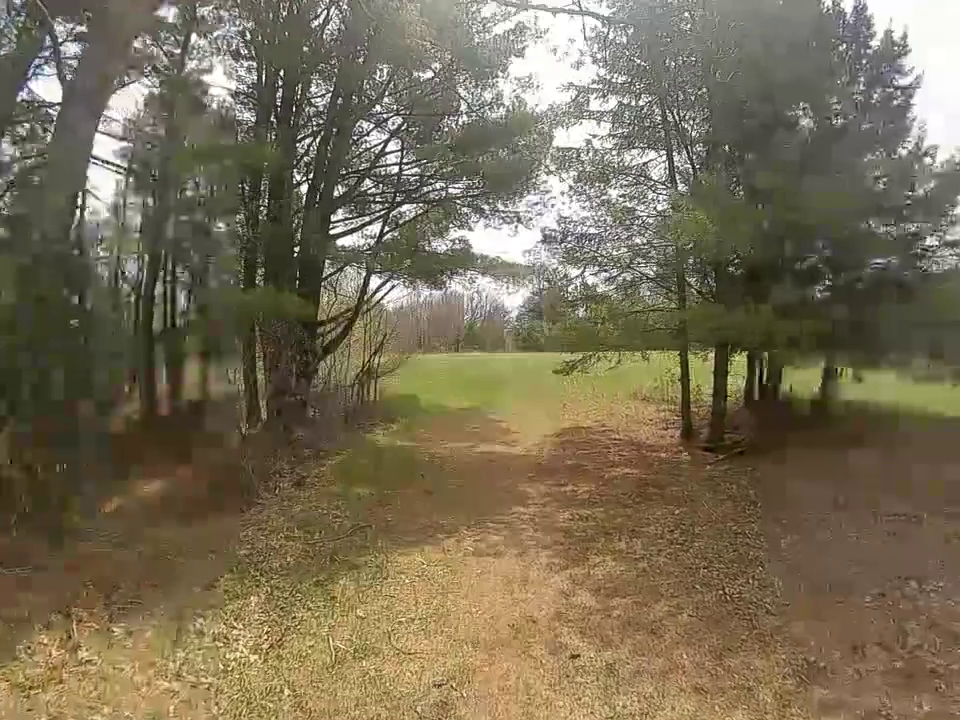
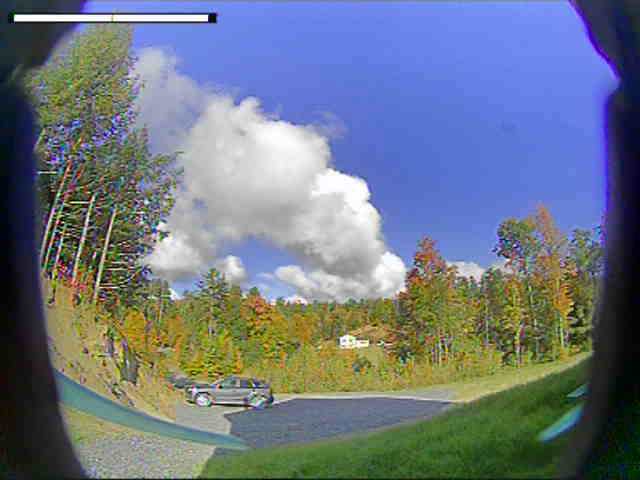
Obviously, the whole point of the system is to deliver HD video and it does this very well. A 1280×720 image absolutely crushes analog video for the amount of detail visible in the image. I tried the Shark Byte RX out on a few different goggles, and even on the 854×480 Aomway Commander V1 screen the difference in detail is readily apparent. On a high-resolution screen like those in the Fat Shark Dominator HDO2, the difference in detail is massive.
Low, fixed latency
One of the build goals with the system appears to be to keep latency low no matter what. Pilots who fly near obstacles and need precision can appreciate this the most. Low, fixed latency offers pilots the best chance to react to the environment.
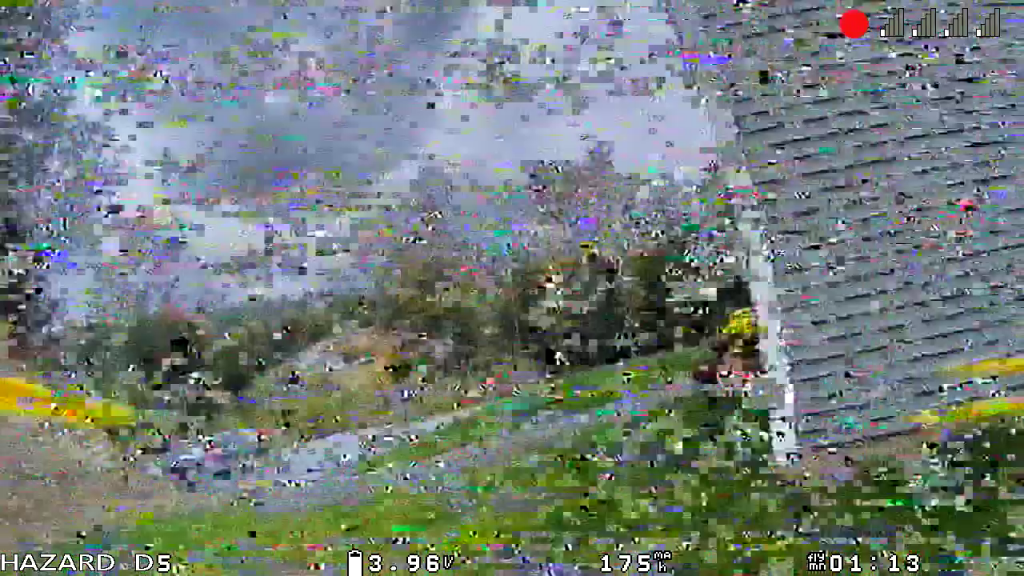
Analog-like signal loss
As the signal degrades, portions of the image will drop out instead of losing the entire image at once. It offers an important indication that you’re reaching the edge of your range.
Plays well with existing equipment
The video transmitter only offers 8 channels instead of the 40+ we’re used to seeing with analog, but it’s the popular “Raceband” channel set which is the most commonly used. This makes it easy to use in groups of pilots on varying types of equipment. The consistent broadcast also plays well with existing video-based race timing systems. Another benefit for groups is that the transmitter and receiver aren’t paired, so anyone can view a channel that’s being broadcast.
Built-in HD DVR
The system will automatically record the picture if there’s an SD card inserted with enough free space. The recorded picture is very clear and closely matches what’s transmitted to the viewer. It’s too bad there’s no way to use the receiver to also record an analog picture as well; that would have been a welcome addition.
Performance
If we’d been flying Shark Byte from day one, “ghost branch” might have never entered the FPV lexicon. The added visual detail helps improve confidence when flying near branches and other small objects that can turn invisible with an analog signal.
Shark Byte did not appear to change the way the quadcopter handled, but the flight experience is certainly improved by the HD picture. I’m not sure I was any better at flying on the system vs. analog, but I definitely enjoyed the experience more. Many pilots have said the HD video brings back the joy of flight and I can understand why.
Setup
Setting up Shark Byte is not a beginner’s task. If you’ve been flying quadcopters for a while then the process won’t be difficult, but as a first time user it may be intimidating to have so many steps. You’ll need to mount the receiver, update the firmware on the transmitter and receiver, solder the transmitter in place, and set up the software on your quadcopter.
Included in the box is a fan grill for fat shark Dominator series goggles. To mount the receiver, you replace the existing fan grill with the new one and put a screw in between the two. If you’re using a different style of goggle, then you may need to rig something up to mount the receiver. This could prove to be a challenge as there aren’t many great mounting points to work with.
Right out of the box the transmitter and receiver both require firmware updates. To do this you need to download the latest firmware for each component and put it on an SD card in the receiver. Powering up the receiver will automatically start the firmware update process, and an included cable allows you to do the same with a transmitter. The firmware on my test unit was old enough that the status LEDs and control stick did not function correctly, so updating is a must.
Setting up Betaflight to send OSD information is also pretty straightforward, but you’ll need a recent version of Betaflight (4.2.8+) and to run a few CLI commands. These commands are outlined in the Shark Byte manual. Someone familiar with running CLI commands will have no issue but a new user may be confused by the minimal instructions provided.
Shark Byte vs. DJI

The most important competitor to Shark Byte is DJI Digital HD, which came onto the scene quite a bit earlier and still holds several advantages.
Users will immediately compare picture quality between the two systems, and DJI does often come out ahead. DJI’s two-way communication allows reconstruction of lost data, which keeps the full image visible under more challenging conditions. But that communication comes at a cost—latency. The DJI system has a variable latency so the time between moving the sticks and seeing the response might be longer at some times than others. Many pilots don’t like this feeling and have difficulty with precise control under those conditions. The Shark Byte system uses a one-way communication so there’s never any added latency. The tradeoff is the image breaks up more frequently than with DJI since there’s no error correction.
The two-way video communication requires the DJI google to transmit as well as receive. In groups flying together, DJI pilots must stand at least 10ft/3m away from other pilots on any system. Shark Byte doesn’t cause interference for other nearby receivers.
Getting HD video streaming from the DJI goggle requires a hack that might be patched away. Shark Byte provides an HDMI video port that can be fed into any system to display or record it.
The DJI system uses a set of frequencies all its own, while Shark Byte uses “Raceband” frequencies that are very common with pilot groups. Both are limited to 8 channels.
Some race timing systems, including the most popular—ImmersionRC’s LapRF—have difficulty tracking DJI pilots. Shark Byte transmits in a similar way to analog video and hasn’t been shown to cause difficulty for any timing system. DJI can be timed successfully but requires some special handling.
The setup for Shark Byte is fairly long and complicated compared to DJI. It’s nothing unusual for hobbyists, but it does stand in contrast to DJI’s exceptional ease of use. However, there’s no activation or registration; Fat Shark isn’t tracking who you are and how you are using the system.
Fat Shark seems to be paying a little closer attention to what the community needs instead of developing what they find most interesting. For example, the OSD “warning” element is one of the most critical items to display on screen, but to date you won’t find this element displayed on DJI. There have been more updates to Shark Byte in recent months, while DJI hasn’t seen anything new.
Other Considerations

Using the regulated cable is great for ease of use, but it can prevent the low voltage alarm in your goggles from functioning well. Always check the status of your goggle batteries before flying. It’s not clear why the VRx module input range is 8–16V but the power cable supplies 7.8V; but the system does work fine with the cable.
The cable also covers up the headphone port on the goggles. Shark Byte currently offers no audio so that’s not a loss when you’re using the system, but requires removing the cable if you switch to analog with audio.
The Receiver also has two nice patch antennas built in; it would have been awesome to offer an SMA connection for your analog module to make use of them.
Finally, Shark Byte didn’t launch with the best camera. Early reviews compared a lesser-quality camera to DJI’s polished system, but the cameras available today are much improved over that first iteration. A new camera is expected soon with even higher quality. These have eliminated some of the image quality differences between the two systems.
Conclusion
Everyone benefits from an upgrade to an HD picture over analog. Shark Byte’s advantages over the DJI HD system appear to squarely target racers and pilots who fly in groups. Freestyle pilots who fly very close to objects will also appreciate how predictable the image loss is when a signal starts to degrade.
If you’re on the racing circuit, Shark Byte offers many advantages over DJI. Racers like the analog-like breakup and fixed latency; race directors like the ease of frequency management and how it plays well with timing systems. The system has definitely been gaining ground.
There’s also the question of price. The Shark Byte receiver is less expensive than buying a pair of DJI goggles if you already own a set, and if you’re building from scratch Fat Shark offers the Scout HD. Shark Byte equipment is generally less expensive for cameras and video transmitters, and it’s a little easier to buy just a camera or VTx if one breaks vs. replacing both.