

In this article, you’ll be learning how to enable rpm filtering on BLHeli_S ESC’s and in Betaflight. The use of rpm filtering enables your flight controller to use information from your ESC’s to better control the PID loop, and limit tuning issues.
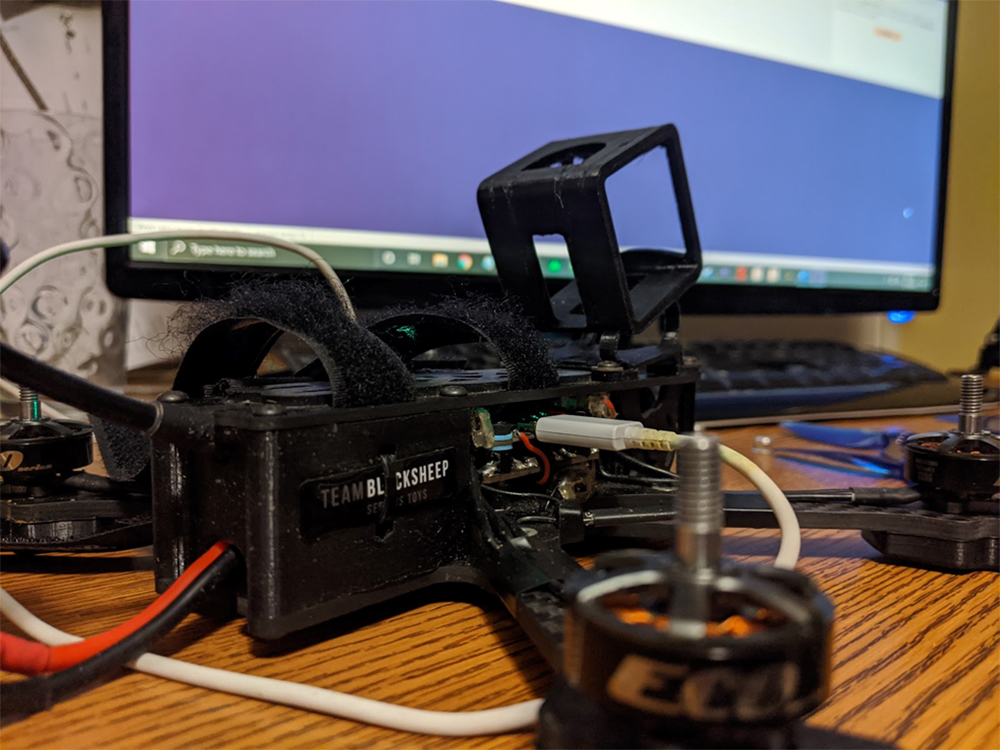
While my instructions will be in-depth throughout this article, I will assume that you have a basic understanding of your drone electronics and Betaflight, and that your miniquad already flies. If you don’t know anything about Betaflight, or what type of esc you have, I suggest doing some more research before attempting this. This article is mainly aimed at 5 inch sized mini quads, but can also be used with smaller and larger multirotors with the correct hardware.
This article was submitted through the GetFPV Community Program by JasonFPV. You can check out more of his content at his YouTube.
Disclaimer: This article was written solely by a member of the FPV Community. Views and advice in this article are that of the author and does not necessarily reflect the opinion or views of GetFPV.
Major Steps:
Why use BLHeli_S RPM Filtering?
Ensuring RPM Filtering is possible with your hardware
Updating Betaflight
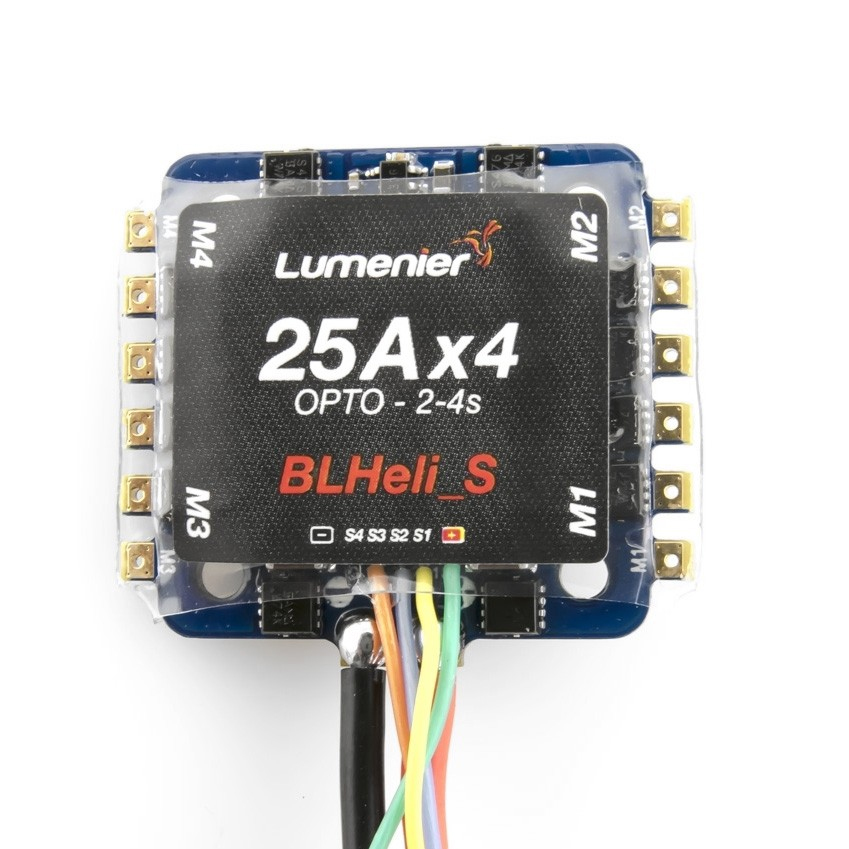
Updating ESC’s
Betaflight Settings
Conclusion and Additional Instruction
Why use BLHeli_S RPM Filtering?
In order to understand the benefit of RPM Filtering, we first need to understand how a flight controller and PID loops function. When you move the sticks on your transmitter, the flight controller (FC) attempts to move the quad at a certain rate, whether it be roll, pitch or yaw. The FC uses a PID controller to compute how much power each motor should output in order to keep the quad rotating at that exact rate. You can tune these parameters in betaflight (“tuning”) to correct vibrations and such. There are also tools such as blackbox logs to help debugging, but tuning remains fairly difficult for newcomers to the hobby.
RPM Filtering allows for the escs to report back info about the RPM of the motors (duh) and makes it much easier for the FC to reduce vibrations. Until recently, RPM filtering was only available on BLHeli_32 escs, although firmware has been released fairly recently that allows for filtering on the cheaper and more common BLHeli_S ESC’s. The result has been the ability for many people to improve their tuning with needing to go through the complicated steps of tuning the actual PID loop.
Ensuring RPM Filtering is possible with your hardware:
RPM Filtering only works on BLHeli_S ESC’s and a recent version of Betaflight. Anyone with average modern hardware can probably meet these requirements, but it’s not guaranteed. First, make sure that your ESC’s are indeed BLHeli_S and then ensure that your flight controller is modern enough to run RPM filtering. I wouldn’t suggest attempting this on a flight controller that’s an F1 or F3. Nearly all F4’s should be fast enough and have a 4.2.x or higher Betaflight target.
Updating Betaflight:
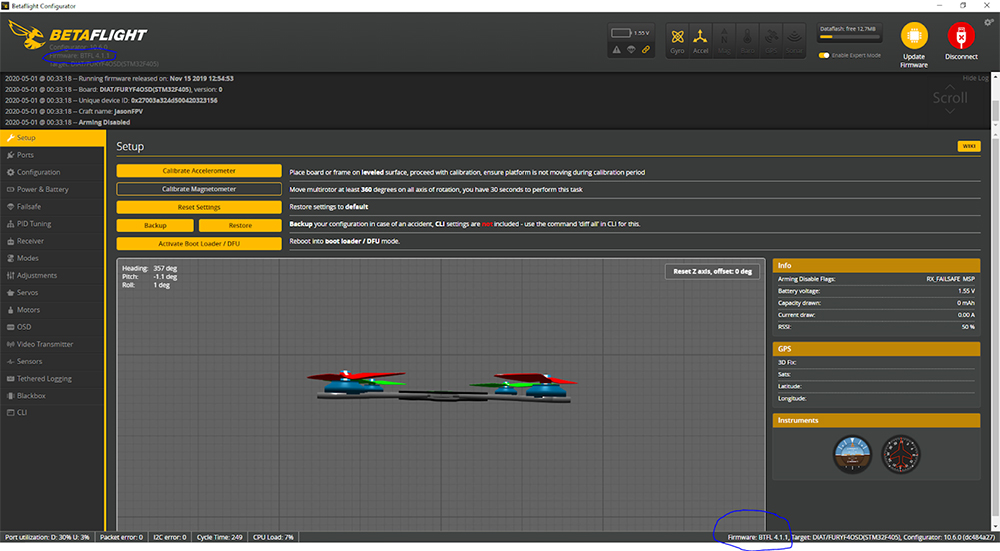
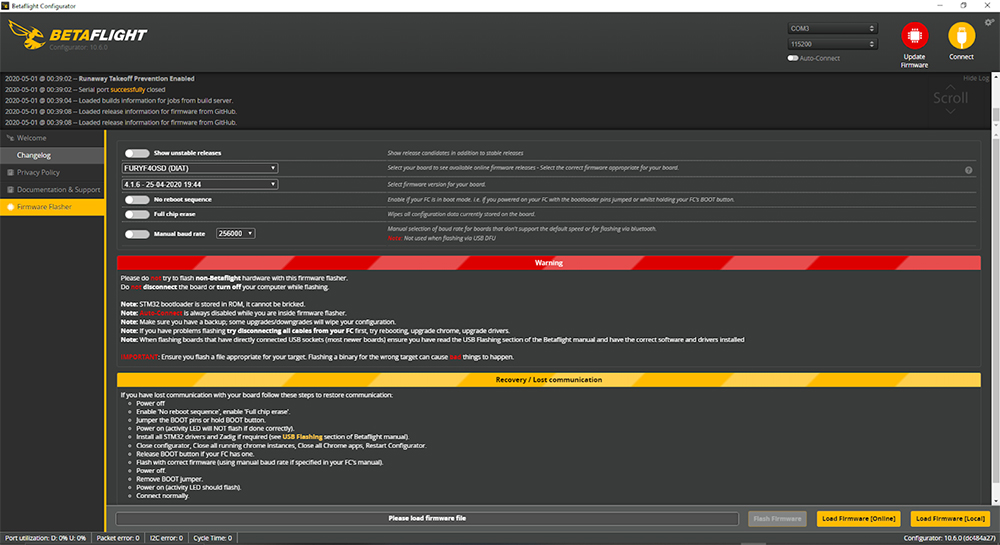
You must be running Betaflight firmware version 4.1.x or above inorder to use RPM filtering. This is not to be confused with the configurator version. You can check what version your FC is on in two places after you connect to Betaflight, as shown here.
If you are already on a firmware version high enough, you can skip to the next section.
If not, you must update your version of Betaflight. This can be done in the flashing section of Betaflight. I suggest updating to the most recent version. You can find your target at the bottom left of Betaflight when connected, next to the firmware version.
After flashing your FC, you may need to change some or all of your settings back to what you had before. I like taking screenshots of each tab before flashing, just in case.
Updating ESCs:
The next step is to update your escs. This is done through the BLHeli Configurator. There is both a windows executable version, and a chrome app version similar to Betaflight. For BLHeli_S, we will be using the chrome configurator version. The link to add it to chrome is here: https://chrome.google.com/webstore/detail/blheli-configurator/mejfjggmbnocnfibbibmoogocnjbcjnk?utm_source=chrome-app-launcher-info-dialog
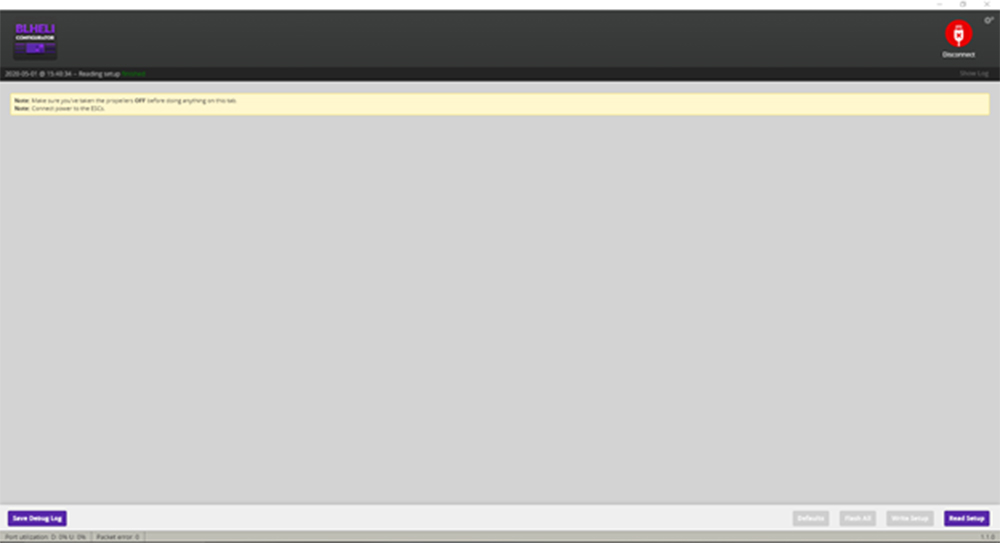
Just like Betaflight, you will have to plug in your FC to your computer and hit connect at the top left, however you must have your battery plugged in. This is because your escs won’t power up with only the power from your USB cord.
Also, TAKE YOUR PROPS OFF. This is very important, as there is a low chance that your motors could randomly spin up at some point during the rest of the time your battery is plugged in. You should always take your props off whenever you are connected to the computer and have a battery plugged in. With props on, you could give yourself a nasty cut and/or break stuff.
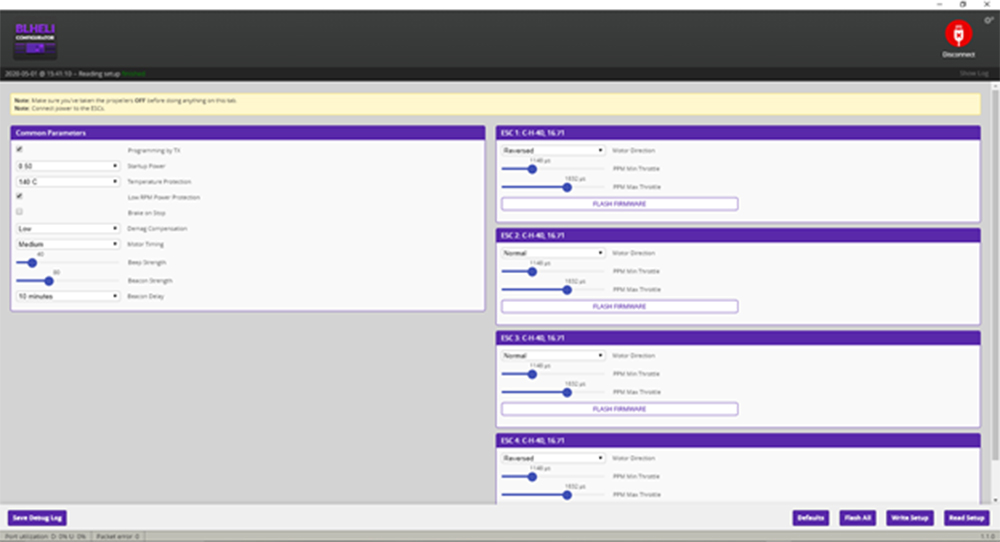
The next step is to press the read setup button at the bottom right of the configurator.
Reading setup will bring in the current settings and info from your ESC’s. We can use this info to tell which ESC target you need. This is very important because you can brick (ruin) your ESC with the wrong firmware. As shown in this picture, the ESC target is shown in each purple bar at the top of each ESC window. My ESC’s are C-H-40, so that is the ESC firmware that I would download. You will need to download the firmware file for your ESC, which will be the next step.
To download jazz maverick RPM filtering esc firmware, go here: https://github.com/JazzMaverick/BLHeli/tree/JazzMaverick-patch-1/BLHeli_S%20SiLabs/Hex%20files%2016.77%2048k and download the correct hex file for your escs. I have linked the 48k versions of the firmware, which usually works. However, if you run into issues, you can try using the 24k version, which is a page back in the file repository. Do not install a version higher than .77 unless you know what you are doing. There could be issues with the newer versions of Betaflight with it.
Download version 0.77. Once you have downloaded the correct jazz maverick ESC firmware for your ESC, you can click the flash all button at the bottom of BLHeli configurator. It will bring you to a page like this:
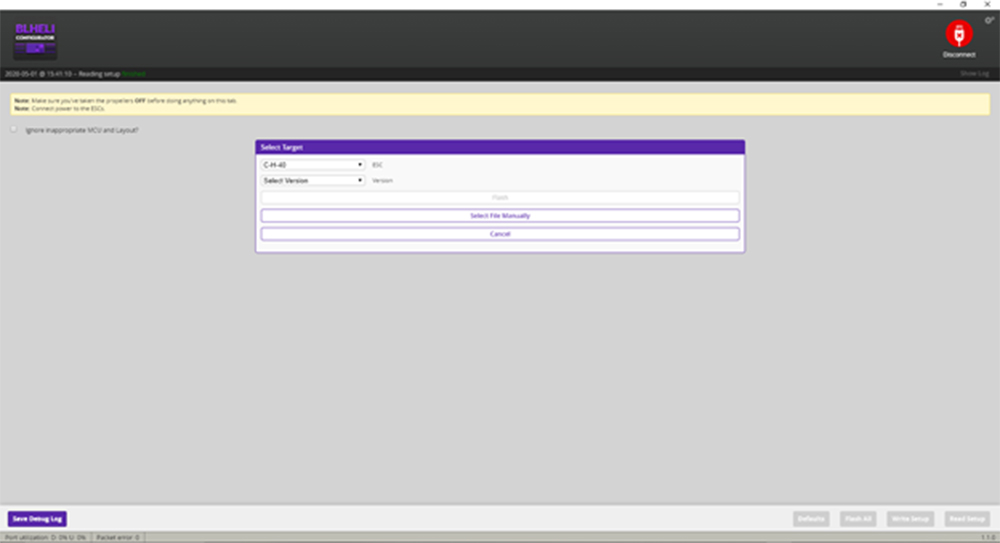
Select your ESC (you can ignore the “select version” dropdown menu, because you already downloaded your version of the firmware), and click select file manually. Here you will have to find the hex file you downloaded in the last step and select it.
Next, we will flash the ESC’s. This is the part you must be careful with. Once you hit flash, it will program all the ESC’s one after the other. Do not unplug anything (yes, the battery included) until the ESC’s are done flashing and beeping. If you have the correct firmware, your ESC’s should all flash just fine, and you can disconnect everything and close BLHeli Configurator. Side note, you can always come back here and change the direction of a motor without resoldering a motor if you want.
Betaflight Settings:
After setting up your ESC’s there are a couple things to change back in Betaflight, but we are almost done! There are just a few settings and explanations to finish the setup and better tune your quad.
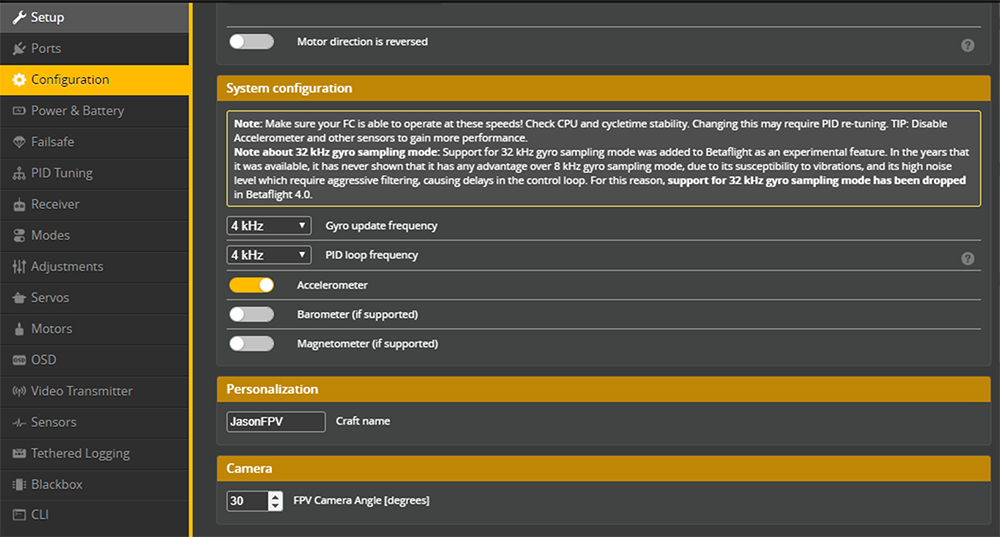
First, we will set the gyro and PID update frequency to 4k/4k, assuming you have a standard F4 FC. If your FC CPU usage causes problems, you can lower this to 2k/2k, and you may be able to raise them to 8k/8k if you have an exceptionally good FC.
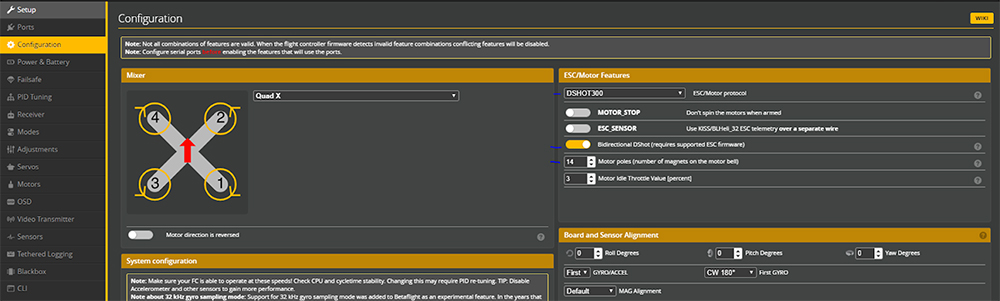
Next we will enable bi-directional Dshot (this enables RPM Filtering), making sure you have the right number of motor poles set, and checking the esc protocol. As marked by blue in the image, I suggest lowering your ESC protocol to DSHOT300 because of the increased CPU load, similarly to the PID and gyro loop speeds. Next, enable Bi-directional Dshot. Then make sure you have the right number of motor poles. In nearly all 5in quad motors there are 14 motor poles (default), but in smaller or larger quads it may be different. A 3in quad usually has 12 motor poles. For other sized quads, check the motor and change the number.
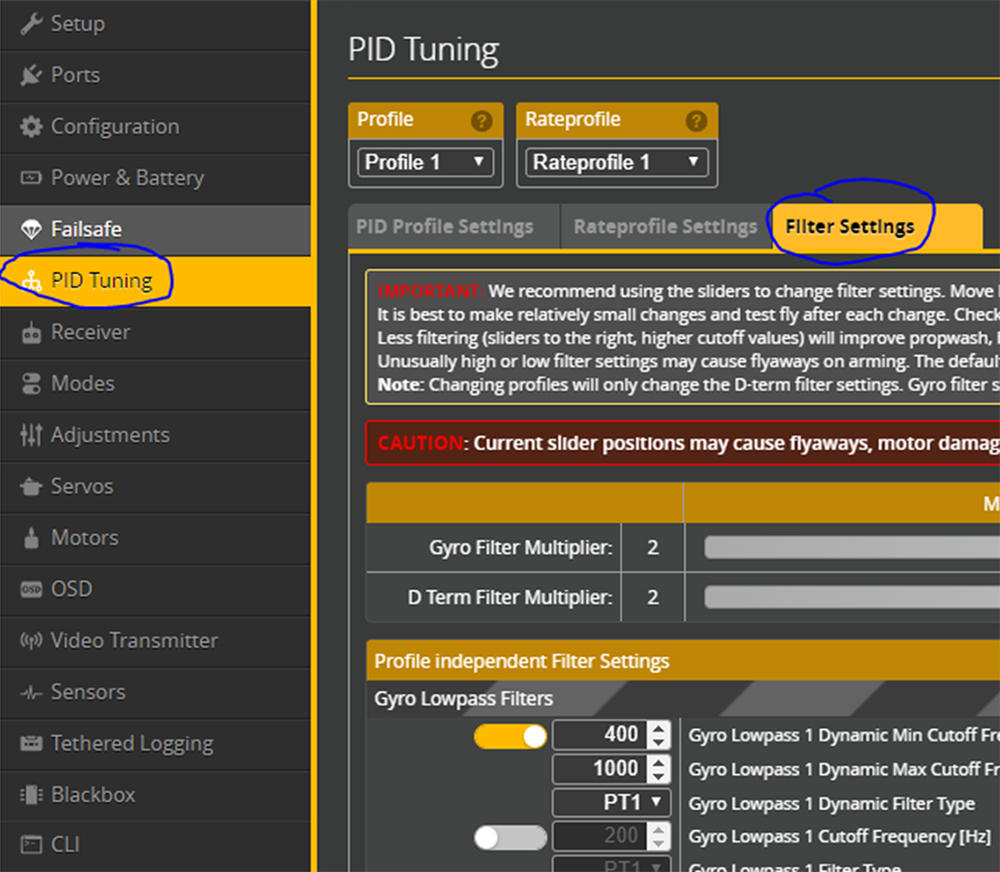
The final step is to change some PID filter settings. Go to the PID Tuning and Filter tab, as shown here:
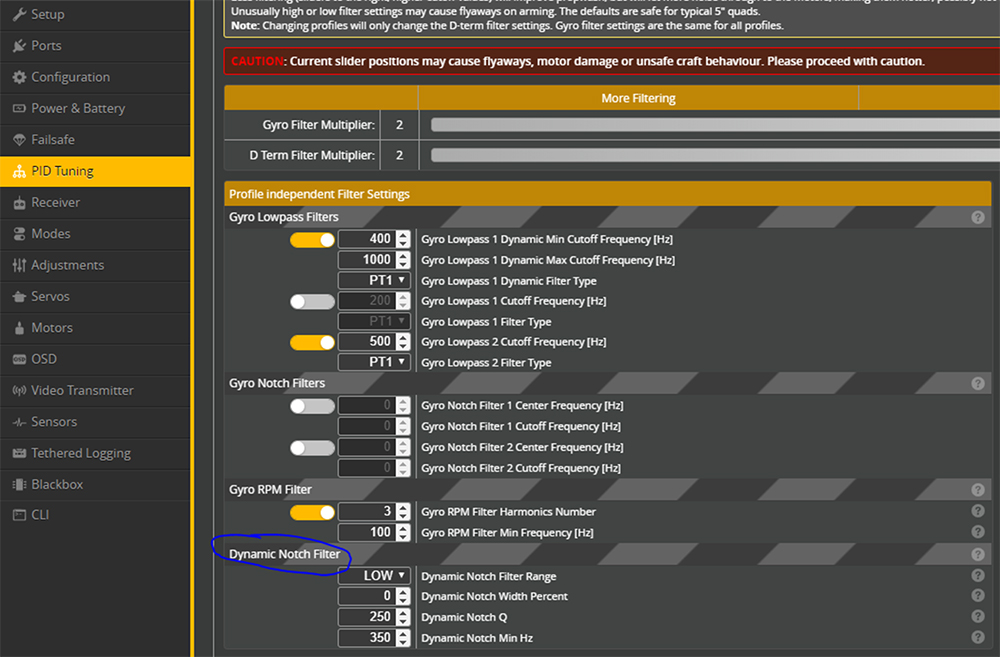
Scroll down and find the setting for the dynamic notch filter, and change it to 0/250/90/350 for Betaflight version 4.2.x or LOW/0/250/350 for Betaflight version 4.1.x. I am running BF 4.1.1.
Congratulations, you’ve set up RPM filtering for your multirotor!
Conclusion and Additional Instruction:
Throughout this guide, you have learned how to set up RPM filtering for your multirotor, which means that you should have a better tuned quad and reduced issues like propwash and oscillations. However, it is possible to further tune your quad. Using the two sliders at the top of the PID filters tab in Betaflight, you can reduce the amount of filtering in your PIDs. This can have a negative or positive affect based on your build, but a high end build can generally use less filtering. My source one 5 inch build has the sliders all the way to the right.
Tuning could easily be considered the hardest part of setting up a quad, and this is not a tuning guide. While I have helped you install a feature to improve your FC’s abilities, you can use blackbox logs to tune to an even greater standard, and I encourage you to learn more about the complex parts of a PID loop. Joshua Bardwell is among one of the most knowledgeable Betaflight resources there is, and I also encourage you to check out his videos if you have additional questions. I was also given some information about the filters by a friend on discord, so thanks to krunked, who also tuned my quad via blackbox logs.
Happy Flying!
-JasonFPV
Very helpful thank you
Why cant I flash firmware 16.9 instead of 16.77 on my ESCs?
The Jazz Maverick ESC firmware made some changes past 16.73 that the Betaflight developers deemed incompatible with RPM filtering. Now JM has renamed his firmware BLHELI_M as of 16.9 and I’ve seen some posts that say it is again compatible with RPM filtering – if you configure it correctly.
Thanks for the guide! Make sure you save the raw text of the hex to a file, not save link as. The hex file can be pasted into notepad.