

The key feature of FPV is being able to see from your multirotor as if you were really there, right in the driver’s seat, experiencing the view in the first person. Unfortunately (or fortunately, depending on how hard you crash!) we can’t truly experience the view first hand and we rely on cameras and video signal transmitting equipment to relay that view back to us on the ground. To get the best possible experience, you want to make sure that what is being relayed back to you is the most accurate representation of the view from your machine. Focusing your FPV camera can help enhance that experience.[vc_single_image image=”1367″ img_size=”full” alignment=”center” onclick=”link_image”][vc_column_text]A lot of attention is given to finding the best FPV camera that will send back the best detail and most faithful colour representation. Many people buy the best camera they can find, wire it up and go fly, not realising that simply getting the camera with the best sensor isn’t the end of the process to getting the best image.[/vc_column_text][vc_row_inner][vc_column_inner width=”1/4″][/vc_column_inner][vc_column_inner width=”1/2″][vc_single_image image=”1369″ img_size=”full” alignment=”center” onclick=”link_image”][/vc_column_inner][vc_column_inner width=”1/4″][/vc_column_inner][/vc_row_inner][vc_column_text]FPV cameras are mass manufactured and profits for the manufacturing company hinge on the amount of time it takes to get each camera off the production line and out for sale. You can guarantee that the person responsible for focussing the cameras prior to shipping them out is probably extremely good at their job, but they do not have the time to focus each camera perfectly. So while in a number of areas modifying your parts is not likely to actually net improvements (video/transmitter antennas etc) re-focussing your FPV camera can have tangible benefits and make your flying experience significantly more enjoyable. A well focused lens can be the difference between seeing that ghost branch, or spending the next hour throwing sticks into a tree.[/vc_column_text][vc_column_text]
What you need
The tools for focusing your FPV camera are easy to get, and best of all are free.
- You will need a Siemens star. The Seimens star is a pattern of alternating dark and light radiating spokes which converge to an extremely fine point in the centre which highlights how well an image is being reproduced by imaging equipment. For most accurate results you want to print this on the highest print setting available. There are many different types of focusing charts available but the Seimens star is the best for the wide angle lenses used in FPV.
If you don’t have access to a printer you can actually use a computer screen but the results will not be as precise due to the resolution of the screen and the contrast of the image. It is still better than nothing. - You will want a space at least 2-3 metres wide with relatively even lighting. You can even do this outside on a nice day. The more light you have, the easier it will be to see the contrast of the image.
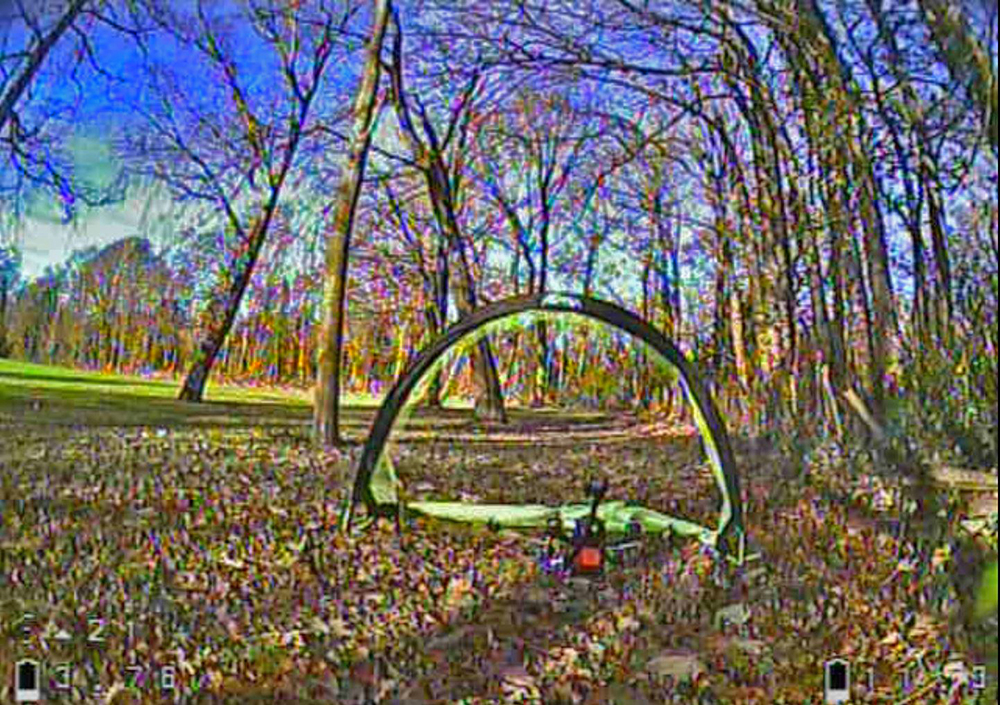
Some needle nose pliers and a grippy cloth are a good idea as a lot of cameras have very tight lockrings on the lens of the FPV camera[/vc_column_text][vc_single_image image=”1370″ img_size=”full” alignment=”center” onclick=”link_image”][vc_column_text]
Note: Example not completed at correct distance.
[/vc_column_text][vc_column_text]
How to focus the camera
- Take the Seimens star focus chart and place it on a wall approximately 2-3 Metres away from you.
- Pre-loosen the lockring on the camera and make sure the lens turns freely by hand. It’s a good idea to wind the lockring up the lens thread a couple turns so that it doesn’t start to bind up when you have the goggles on and are adjusting the lens.
- Power up the quad and make sure your VTX is on the lowest output power available to avoid excess heat build up. (It is a very good idea to take props off while doing this, since the quad will be powered up and you will be holding it!!!)
- Power up your goggles and place them on your forehead.
- This is the tricky bit, place the goggles properly on your face and make sure they are seated well so the screens are in focus as best as possible.
Now you need to blindly fumble around the front of the quadcopter until you locate the edges of the camera lens. Be very careful not to put a fingerprint on the lens while doing this, as a fingerprint will ruin the focus and no amount of lens fiddling will get a good image. - Now you want to rack the focus back and forward by twisting the lens in both directions while looking at the focus chart (just like in the GIF above). You will notice the blurry section in the middle of the chart will get bigger and smaller. The aim here is to get that blurry spot in the centre as small as possible.
- Once you have found the best focus for the lens, remove your goggles and carefully, without bumping the lens, get the quad in a position that you can tighten the lockring and lens.
- When doing this myself I undo the lens a further 1/8th to 1/4 turn before winding the lockring in against the camera case.
Once the lockring is wound against the camera case, tighten both the lens and
lockring together the 1/8th-1/4 turn that you wound it out. This will allow you to get both the lens and lockring much tighter than doing the lockring alone, and will make it less likely that the lens will come loose during flight (or crashes). - Throw the goggles back on and double check that the camera is still showing the most crisp image possible. If it is not, redo the previous step and adjust the amount that you wound the lens out before tightening to make the final position closer to perfect focus.
If you have the lens tight and the image is still showing as crisp as possible then you are done! You can now take your quad out to fly knowing that what you are seeing in your goggles is the most faithful representation of what the camera is seeing. There is one more area of focusing that can affect your view when flying and that is in the goggles themselves, but that is a topic for another article.[/vc_column_text][vc_column_text]If you are reading this while searching for the best FPV camera it is worth noting that, both the camera you choose for your multirotor, and the settings that you use in the camera, can also affect the quality of the image that you see. You can check out these articles that will help you choose the best camera for your purpose, and how to choose the best settings.
[/vc_column_text][vc_column_text]
Conclusion
Hopefully this article has helped you get your FPV video feed even more precise than stock, and you can now see more clearly and fly around those scraggly trees with even more confidence!
Keep those props spinning, Happy flying![/vc_column_text]
Thanks for the article on camera focusing. I hadn’t thought of doing it with my goggles on. I will give it a try.
je ne connaissais pas cette technique de réglage avec l’étoile de Siemens.
merci pour cet article car cela m’a bien aidé pour faire la mise au point de toutes mes caméra fpv.
Great article. I’m going to do this right now
This works very good but knowing the best distance to go by then f confusing. If you focus at 10′ it’s good for a certain distance but if you focus at 15′ is good for another distance. Better than nothing but I wish they could come out with something better to cover more zeroed in amount.
Being new to the world of FPV, this has been super helpful! Thanks for the tips!
This is a great help, thanks. using the seimens star was huge.