

Undertaking an FPV drone build / quadcopter build is not easy. One of the most frustrating obstacles to overcome are the countless breakages you will make to your multirotor as you not only learn to fly, but learn to build as well. Do not be discouraged! Within this guide you will find drone build advice recommended by a range of experienced FPV pilots. Very soon you will be building like a pro and seeing far fewer of those irritating session-ruining breakages. [vc_row_inner][vc_column_inner width=”1/6″][/vc_column_inner][vc_column_inner width=”2/3″][vc_single_image image=”1300″ img_size=”large” alignment=”center” onclick=”link_image” image_hovers=”false”][/vc_column_inner][vc_column_inner width=”1/6″][/vc_column_inner][/vc_row_inner][vc_column_text]
Convenience and Cleanliness
Maintaining a clean and orderly drone build is essential for quick and simple repairs. An extra few minutes of thought regarding wiring routes can potentially save you hours of repair time.[/vc_column_text][vc_column_text]
Flight Controller Flip-over
Most often, the ESC signal wires are the final solder joints you will make as you complete a quadcopter build. If the signal wires are attached to the motor headers over the top of the flight controller (FC), the FC will become pinned and unremovable. This prevents access to the wiring beneath the FC stack, unless you’re feeling particularly lucky and don’t mind blindly poking a soldering iron tip underneath. A straightforward work around for this problem is to solder all suitable wires to the underside of the FC, once finished flip the FC over and secure it as you choose. The flip-over technique was essential during the build process of this frame, which only has 15mm of internal height to work with.[/vc_column_text][vc_row_inner][vc_column_inner width=”1/2″][vc_single_image image=”1287″ img_size=”large” alignment=”center” onclick=”link_image” image_hovers=”false”][/vc_column_inner][vc_column_inner width=”1/2″][vc_single_image image=”1286″ img_size=”large” alignment=”center” onclick=”link_image” image_hovers=”false”][/vc_column_inner][/vc_row_inner][vc_column_text]
Motor Wire Wrap Around
This is an extremely simple trick that is surprisingly useful, although it is only applicable to individual ESC’s. To execute the wrap around, firstly bolt on a motor and align an ESC along the arm. Next, direct the three motor wires down the arms and underneath the ESC. Finally, bring the motor wires up between the ESC and solder them on to the motor output pads. Now, if you choose to transplant this motor on to a different build, the wires will not require any extension.[/vc_column_text][vc_row_inner][vc_column_inner width=”1/6″][/vc_column_inner][vc_column_inner width=”2/3″][vc_single_image image=”1294″ img_size=”large” alignment=”center” onclick=”link_image” image_hovers=”false”][/vc_column_inner][vc_column_inner width=”1/6″][/vc_column_inner][/vc_row_inner][vc_column_text]
Wire Colour Coding
It’s happened many times before – Hours spent cautiously building only to watch a freshly constructed quad disappear in a puff of smoke. There are a number of things that can be done to prevent this, the most basic being a consistent wiring colour code. For example: red for positive, black for ground and white or yellow for signal. A logical wiring code is crucial for the avoidance of simple electrical issues.[/vc_column_text][vc_row_inner][vc_column_inner width=”1/6″][/vc_column_inner][vc_column_inner width=”2/3″][vc_single_image image=”1293″ img_size=”large” alignment=”center” onclick=”link_image” image_hovers=”false”][/vc_column_inner][vc_column_inner width=”1/6″][/vc_column_inner][/vc_row_inner][vc_column_text]
Nuts, Bolts and Screws
Fasteners are underappreciated, hardly given a second thought until a few loose bolts or nuts end a flight prematurely. There are many specialty products designed to prevent exactly this happening.[/vc_column_text][vc_column_text]
Loctite
Loctite thread locker is widely considered to be a staple drone build product by the Drone FPV community. Loctite is a bottled liquid that can be bought from most hardware stores. Loctite is applied to the thread of a bolt, once screwed in and given time the loctite will set. The set loctite prevents loosening of the screw. With a little force, a locked screw can be removed by hand, depending on the strength of the loctite variant used. For most Drone and FPV purposes, blue medium strength loctite is sufficient.[/vc_column_text][vc_row_inner][vc_column_inner width=”1/6″][/vc_column_inner][vc_column_inner width=”2/3″][vc_single_image image=”1297″ img_size=”large” alignment=”center” onclick=”link_image” image_hovers=”false”][/vc_column_inner][vc_column_inner width=”1/6″][/vc_column_inner][/vc_row_inner][vc_column_text]
Socket Head Bolts
M3 button head bolts seem to have become a standard in multirotor frame design. However, button head bolts are far more prone to stripping than other bolt head variants; the socket head, for example. Socket head bolts have a larger head than the button head alternative, preventing stripping from easily occuring and allowing for more torque to be stressed upon the bolt. Socket heads allow for a tighter and firmer grip without fear of stripping, although, the socket head is considerably bulkier than the button head.[/vc_column_text][vc_row_inner][vc_column_inner width=”1/6″][/vc_column_inner][vc_column_inner width=”2/3″][vc_single_image image=”1290″ img_size=”large” alignment=”center” onclick=”link_image” image_hovers=”false”][/vc_column_inner][vc_column_inner width=”1/6″][/vc_column_inner][/vc_row_inner][vc_column_text]
Nyloc Nuts
Nyloc nuts are superior to standard hex nuts in every way, excluding price and profile, which are fractionally greater. Nyloc nuts should be used wherever applicable, the nylon insert prevents slippage due to vibration and is essential for the fastening of the propellers.[/vc_column_text][vc_column_text]
Antenna Placement
Both Drone / FPV and radio control antennas are prone to damage. To allow for acceptable transmission and reception, all antennas should be positioned distant from any sources of electromagnetic interference such as current carrying wires. Antennas should never be blockaded by carbon fiber, as carbon fiber will block any incoming or outgoing radio waves. To learn more about FPV / Drone antennas, visit the FPV Essentials Antennas Guide.[/vc_column_text][vc_column_text]
Video Transmitter Antenna Protection
Next to propellers, antennas are among the most replaced items. Video antennas are often fairly large targets, jutting outwards from the multirotor and entirely vulnerable to swiping branches. The most common damage incurred by the antenna unit is breakage at the connector. The best way to prevent this is to secure the antenna to the frame with a zip tie placed just beyond the connector. Another more visually appealing method is the use of a flexible 3D printed antenna mount that will allow the antenna to flex during a crash.[/vc_column_text][vc_row_inner][vc_column_inner width=”1/6″][/vc_column_inner][vc_column_inner width=”2/3″][vc_single_image image=”1292″ img_size=”large” alignment=”center” onclick=”link_image” image_hovers=”false”][/vc_column_inner][vc_column_inner width=”1/6″][/vc_column_inner][/vc_row_inner][vc_column_text]
Protective Receiver Antenna Mounting
Mounting the receiver antennas is troublesome. RX antennas are rather fragile and do not take well to contact with the propellers. There are a couple of different common methods for antenna mounting, the most basic being the zip-tie and heat shrink technique. Attach a zip tie to the frame in any orientation you prefer. Now, align the antenna with the zip-tie before sliding a section of heat shrink over the pair. Alternatively, antenna tubes can be used as a sturdier and more protective mounting system. Specialty antenna tubes purposed for custom designed mounts can be purchased from many FPV Drone outlets.[/vc_column_text][vc_row_inner][vc_column_inner width=”1/6″][/vc_column_inner][vc_column_inner width=”2/3″][vc_single_image image=”1289″ img_size=”large” alignment=”center” onclick=”link_image” image_hovers=”false”][/vc_column_inner][vc_column_inner width=”1/6″][/vc_column_inner][/vc_row_inner][vc_column_text]
Receiver Antenna Orientation
The alignment of the RX antenna is critical if flight range and reliability is to be maximised. There is no singular perfect way to mount the RX antennas, this varies depending on the build, communication protocol and frequency. As a general guideline for the typical freestyle drone hosting a 2.4GHz connection, the RX antennas are best located at the rear; one attached to the top plate, angled to match the position of the camera. The other RX antenna, pointing backwards parallel to the bottom plate. This RX antenna setup promotes proper antenna orientation during both forward flight and acrobatic manoeuvers. [/vc_column_text][vc_column_text]
The Battery
Batteries are expensive, sensitive items. The inner lithium polymer pouches are insulated by a thin foil enclosure. This casing is easily punctured, allowing for the enclosed lithium to be oxidised. Once the lithium has been oxidised, the cell is permanently damaged. Even a prolonged electrical short can can also cause irreparable cell damage.[/vc_column_text][vc_column_text]
Protect Your Batteries!
Battery manufacturers often use a slippery, thin PVC heat shrink that is easily fractured and torn from the battery. Without covering, the lithium polymer cells are especially vulnerable. An excellent way to protect a skinned battery is to cover it with adhesive polyolefin heat shrink. Adhesive polyolefin heat shrink is a soft and slightly flexible material that is produced with thick walls. The adhesive component bonds to the exterior of the battery during the shrinking phase, preventing the heat shrink from being readily torn from the battery. Approximately 40mm Adhesive polyolefin heat shrink is appropriate for 4S 1300mAh LiPo batteries.[/vc_column_text][vc_column_text]
Balance Lead Safety
Battery balance leads are another unfortunate victim of the propellers, being easily splintered and destroyed upon contact. There are many ways to protect your balance lead, the least complex being too simply wrap the balance lead around one of the main discharge leads. Another method is to use velcro to stick an uncooperative balance lead to the side of the battery, out of harm’s way. Still not satisfied? Why not try a protective clip? These small plastic clips can be purchased from many Drone FPV outlets. Designed to attach just below the connector, these clips prevent prop strikes from easily severing the connector.[/vc_column_text][vc_row_inner][vc_column_inner width=”1/6″][/vc_column_inner][vc_column_inner width=”2/3″][vc_single_image image=”1284″ img_size=”large” alignment=”center” onclick=”link_image” image_hovers=”false”][/vc_column_inner][vc_column_inner width=”1/6″][/vc_column_inner][/vc_row_inner][vc_column_text]
Keep Track of Charge
When in a pinch, spending the time to individually check the voltage of each of your batteries is unthinkable. A perfect solution to this issue is to mark the charge of your batteries with an easily removable item. There are many designs for removable battery end caps that can both indicate the charge of the battery (Full or empty?) as well as provide protection for the inner terminals of the XT60 from electrical shorts. These battery caps can be found on Thingiverse to print for yourself. Another useful technique is the use of low profile switchable indicators, that can be toggled to display the current charge of the battery.[/vc_column_text][vc_row_inner][vc_column_inner width=”1/6″][/vc_column_inner][vc_column_inner width=”2/3″][vc_single_image image=”1295″ img_size=”large” alignment=”center” onclick=”link_image” image_hovers=”false”][/vc_column_inner][vc_column_inner width=”1/6″][/vc_column_inner][/vc_row_inner][vc_column_text]
Miscellaneous Drone Build Techniques
[/vc_column_text][vc_column_text]
Finally, a Use for Busted Propellers
There are a multitude of specifically produced ESC protectors. CNC aluminium guards or 3D printed shelters are available. If you don’t have access to a CNC machine or 3D printer, find yourself an old prop and cut the blades off. Fix these blades with tape over the top of each ESC to protect from prop strikes.[/vc_column_text][vc_column_text]
Waterproof Your Drone Build
FPV racing drone components, such as the flight controller are extremely susceptible to water damage. A tiny water droplet in the wrong spot can cause and end to the days flying before it has even begun. There are many electronics waterproofing products available on the market that can be used to waterproof a drone with great success. Silicone based conformal coatings like the one pictured are reliable for FPV use and have the advantage of allowing for rework. (You can still solder when the coating is applied!)[/vc_column_text][vc_row_inner][vc_column_inner width=”1/6″][/vc_column_inner][vc_column_inner width=”2/3″][vc_single_image image=”1285″ img_size=”large” alignment=”center” onclick=”link_image” image_hovers=”false”][/vc_column_inner][vc_column_inner width=”1/6″][/vc_column_inner][/vc_row_inner][vc_column_text]
Hot Glued Connectors
FPV Drone cameras, receivers and video transmitters often utilise small plastic connectors to route in the power and signal lines. The plastic wires frequently used in conjunction with these connectors are liable to fracture around the crimping point. A small drop of hot glue where the wires meet the connector is an uncomplicated way to prevent fracturing from occuring.[/vc_column_text][vc_column_text]
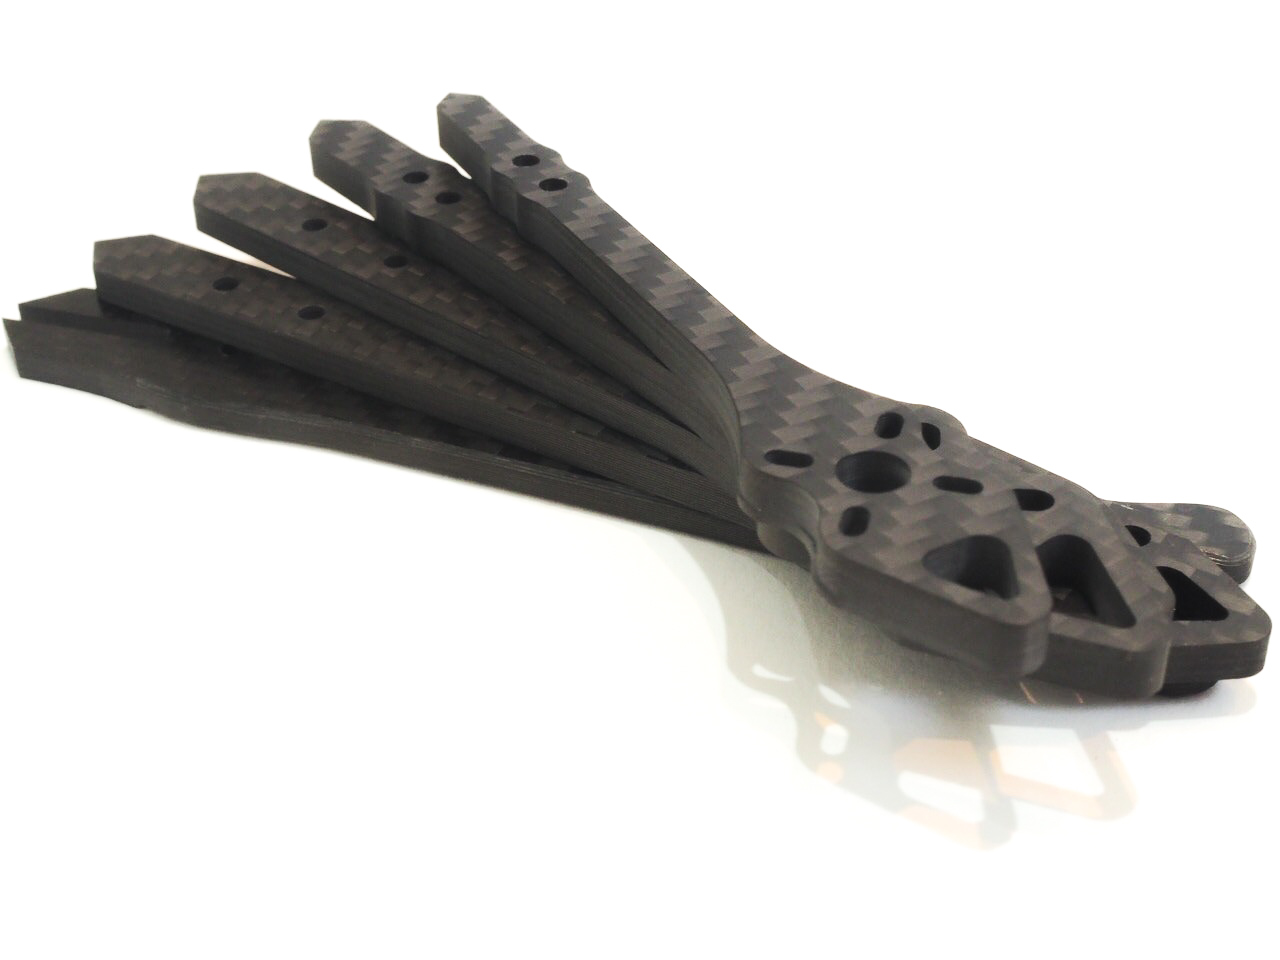
Protect the Arm Tips
Carbon fiber is composed of many layered woven carbon fiber sheets sealed within an epoxy matrix. During wear and tear these layers can be damaged, this can cause the interlayer epoxy bonds to weaken. Weakened interlayer bonds eventually lead to delamination which seriously compromises the structural integrity of the carbon fiber. To prohibit delamination, smear some epoxy or CA glue over the edges of any vulnerable carbon fiber, particularly the arm tips. If you don’t fancy spreading muck on your carbon fiber, 3D printed arm guards are an excellent alternative.[/vc_column_text][vc_row_inner][vc_column_inner width=”1/6″][/vc_column_inner][vc_column_inner width=”2/3″][vc_single_image image=”1291″ img_size=”large” alignment=”center” onclick=”link_image” image_hovers=”false”][/vc_column_inner][vc_column_inner width=”1/6″][/vc_column_inner][/vc_row_inner][vc_column_text]
Carbon Fiber is Conductive
Carbon is an excellent conductor of electricity, and carbon fiber is no different. Always be mindful of any loose wire that may be in contact with the frame, as this can lead to a short that could be extremely destructive to both the electronics and the frame. (Note: The brass connector attached to many video transmitter antennas is grounded, it is fine if this part comes in contact with carbon fiber. However, if any positive wire is to contact the carbon fiber, an electrical short will occur.)[/vc_column_text][vc_row_inner][vc_column_inner width=”1/6″][/vc_column_inner][vc_column_inner width=”2/3″][vc_single_image image=”1301″ img_size=”large” alignment=”center” onclick=”link_image” image_hovers=”false”][/vc_column_inner][vc_column_inner width=”1/6″][/vc_column_inner][/vc_row_inner][vc_column_text]
Conclusion
Unfortunately for some, FPV Drone racing involves plenty of quick repairs and jerry-rigging. With these simple tips and a little luck, your repair time should be notably decreased. Always remember: If it’s ridiculous, yet it works, it’s not ridiculous! If you are new to FPV Drone racing and would like to learn more, don’t forget to check out A Beginners Guide to FPV.[/vc_column_text]
Very educational, worth the time to read to avoid the many mishaps of building, these tips and guilds will save you money and time,, very highly recommended to new and for the experienced builder of the fpv community of quadcopter.
I am enjoying the new Learning page. Great place for information and ideas. Definitely will try using Loctite.
As a new to the hobby enthusiast, this was a perfect article to get me confident in building my first 5” quad. Keep up the great work! I completely agree that the bolts, nuts, and standoff’s being the correct sizes are wayyy under appreciated!
This is awesome! I really appreciate all the little tips. As I go into my first build, you can bet I’ll be checking back on this article!
Thanks for all the great information!
Glad you found it useful, thanks for reading!
Definetely going to use some of these tricks on my next build.
Awesome!!! Thanks for sharing these drone build tips. These tips are really helpful. I really got great information from your blog.
Great information!!! Thanks for sharing these tips and trick to build drones. Really great…
Very good ideas, I’m going to use most of them and thank you