

[vc_row][vc_column][vc_column_text]FPV drone maintenance is a very important part of the hobby. Whilst some pilots choose to ‘send it’ and fly their quads until death, I prefer to extend longevity with FPV drone maintenance. In this article, I will discuss a series of FPV drone maintenance, checks, and cleaning tips. These tips will help to keep your fleet airworthy for longer.
How Often Should You Undertake FPV Drone Maintenance?
This is quite a subjective question and the answer varies highly based on the use case. In general, I recommend FPV drone maintenance once a month. For racers, I would recommend checks and maintenance after every race event. For freestyle pilots, I would recommend checking over your fleet after every few freestyle sessions. Every mentioned FPV drone maintenance step won’t need to be completed every time. It is up to you to determine how thoroughly you would like to maintain your fleet.
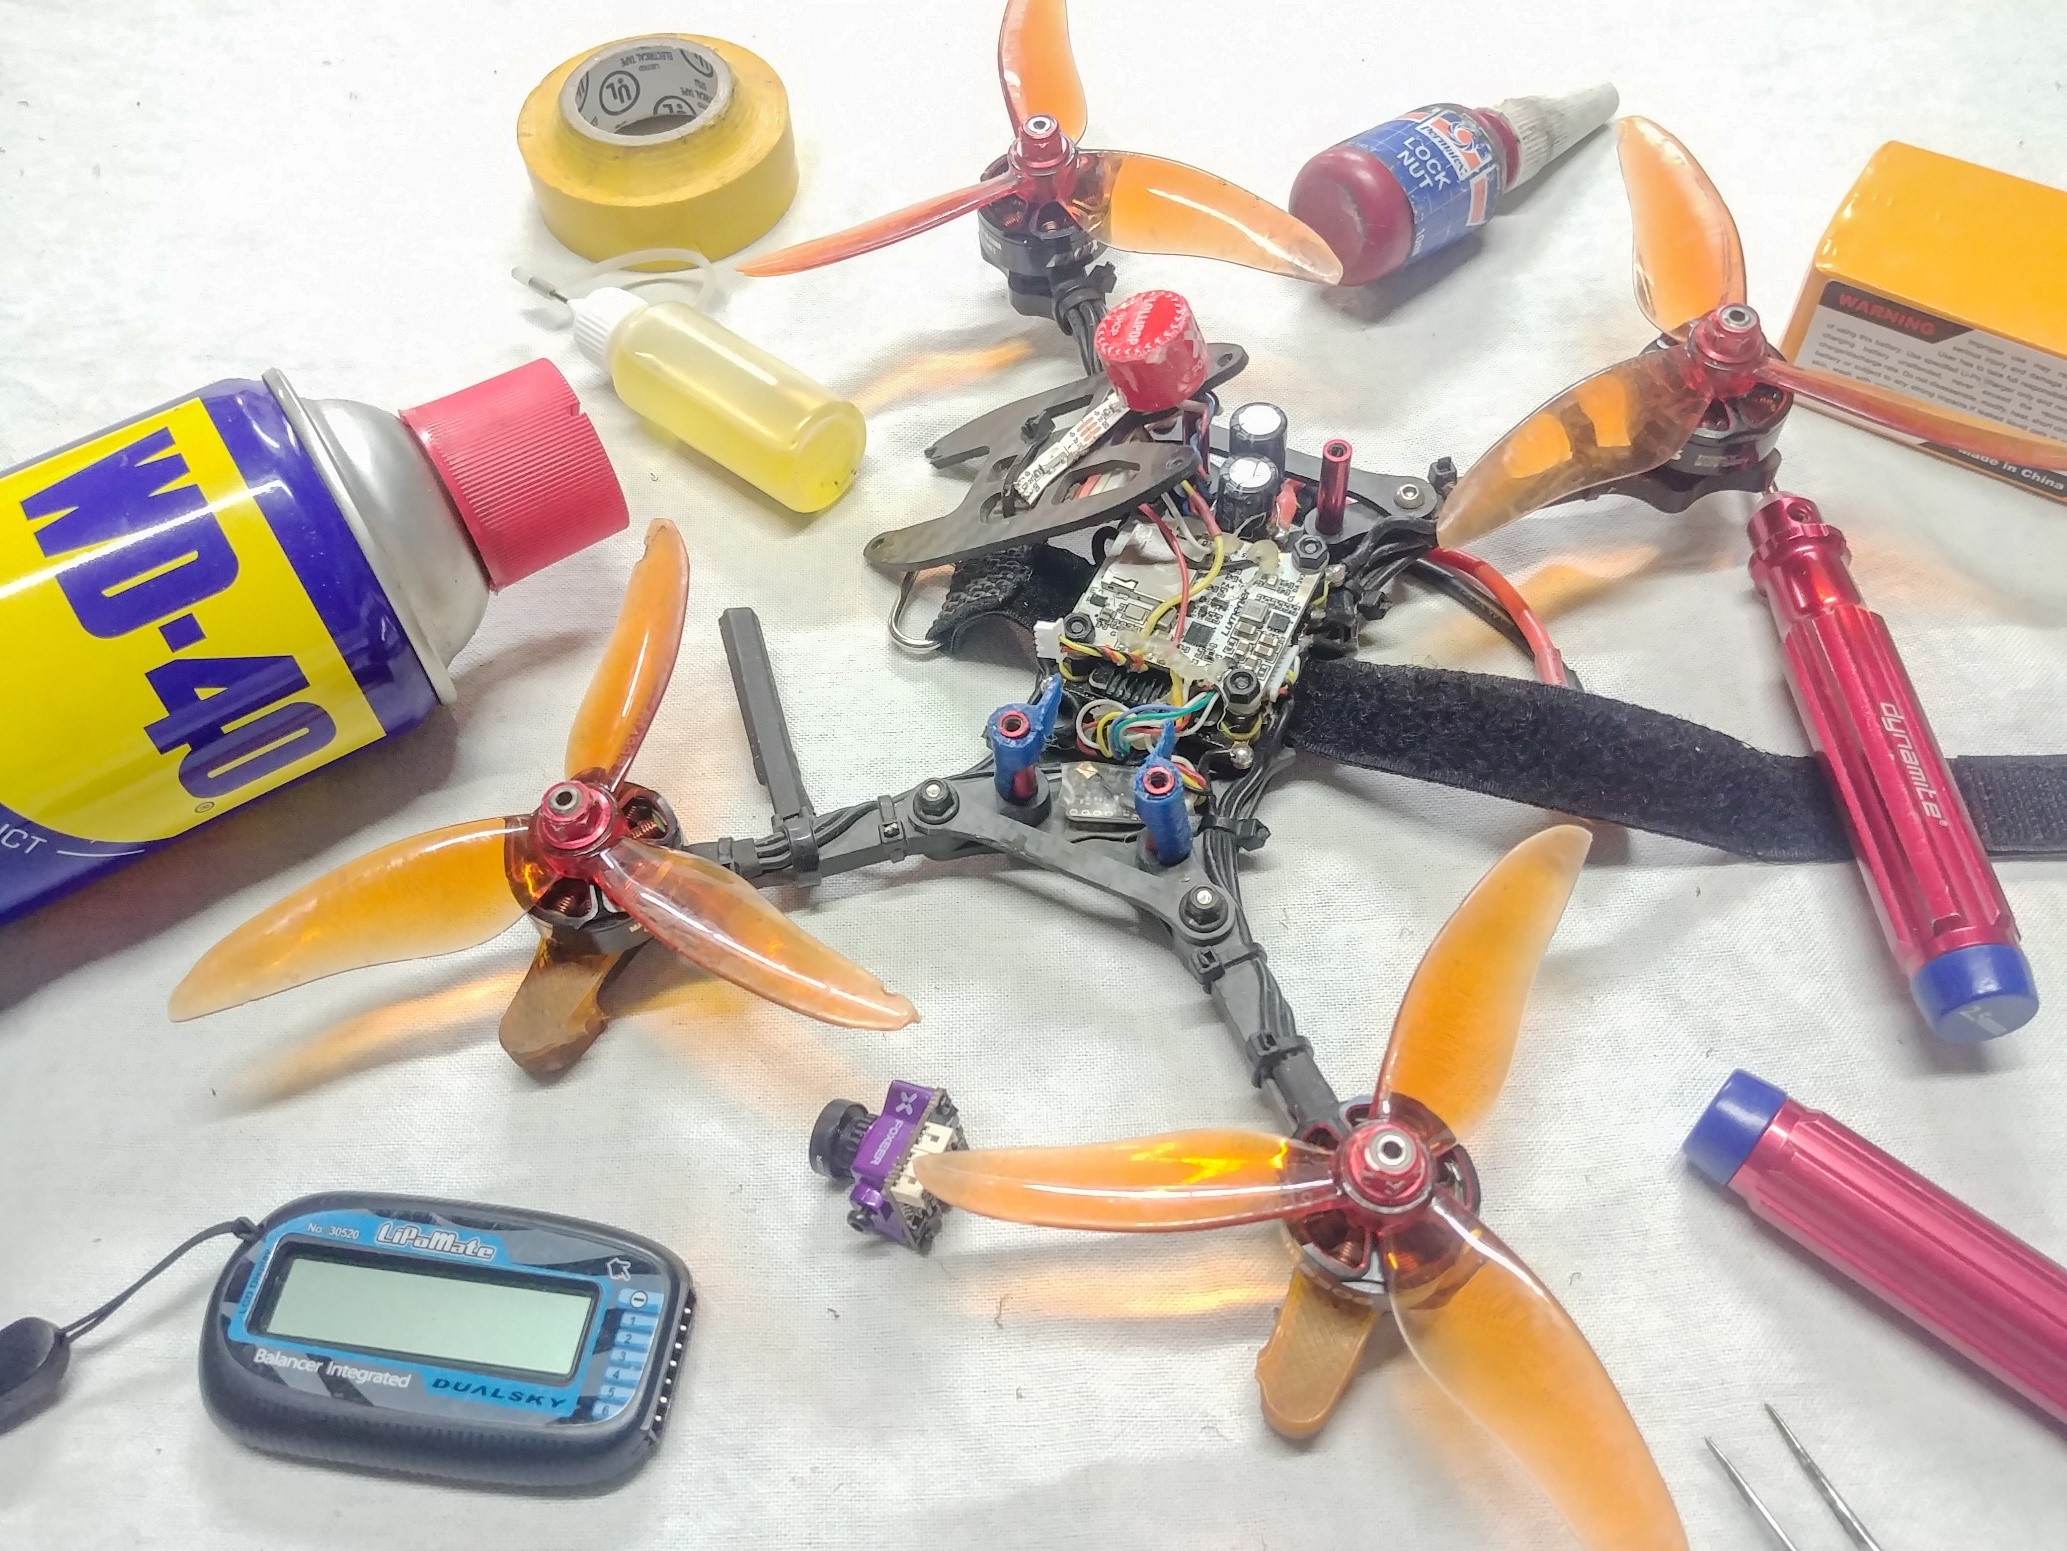
Motors
[/vc_column_text][vc_row_inner][vc_column_inner width=”1/6″][/vc_column_inner][vc_column_inner width=”2/3″][vc_single_image image=”5699″ img_size=”full” alignment=”center” onclick=”link_image”][/vc_column_inner][vc_column_inner width=”1/6″][/vc_column_inner][/vc_row_inner][vc_column_text]
Checks
Outer visual Inspection:
Observe the outer surface of the motors for any significant dings or scratches. Ensure that the magnet ring is still attached to the rest of the motor bell. If the motor is badly damaged it may need replacement.
Free spinning check:
Turn each motor by hand to check for rotational friction. Compare the friction with a brand new/spare motor. A non-compliant motor will need bearing oiling, cleaning or replacement.
Motor vibration check:
Without propellers, arm the drone and spin up the motors, put a fingernail under each motor to feel its vibration. If the vibration is excessive, the motor shaft may be bent and in need of replacement.
Shaft straightness check:
Disassemble the motor and visually inspect the straightness of the shaft. If the motor shaft is bent, it will require replacement.
Shaft play check:
Attempt to wiggle the motor bell in the radial direction. There should be little compliance in the longitudinal (side to side) direction. Compare the play to a new motor. If the play is significantly larger than a new motor, bearing or motor replacement should be considered.
Conductivity check:
Take a multi-meter and set it to continuity mode. Touch one prong to one of the motor wire/ESC solder joints and the other prong to the drone frame. There should be no continuity indicating that the motor windings are electrically insulated from the frame. Repeat this test with each motor wire. If the multi-meter detects continuity, this can be a case of a faulty motor or a motor screw contacting the windings. Remove the source of continuity through motor replacement or shorter motor screws.
Resistance check:
De-solder the motor wires from the ESC and set the multi-meter to resistance mode. Touch the multi-meter probes to each combination of motor wire pairs to check the resistance. For most motors, the resistance should be around 50 milliohms. You can also compare the motor resistance to a new motor. A motor with high resistance winding will need to either be re-wound or replaced.
Screw torque check:
Check that the motor screws are moderately tight. If screws have come loose during flight, apply thread locker and re-tighten the screws.
Inner visual inspection:
Disassemble the motor and inspect the motor windings, bearings and magnets. Look for loose magnets or chipping, burnt looking motor windings, or damaged bearings. If any part of the motor looks damaged, it may need replacement or cleaning.
Cleaning
Dirt removal:
Remove dirt from the motors by washing the motors with water or using a bristle brush. Ensure the motors are dried after washing them and attempt to minimise water contacting the bearings. Dirt can also be removed using a car cleaner gel.
Bearing cleaning:
If the bearings have high friction or look to be rusted/full of dirt, they can be cleaned by placing them in an ultrasonic cleaner. Alternatively, spray each bearing with WD-40. After cleaning, re-oil the bearing with high speed bearing oil.
Maintenance
Bearing oiling:
Apply high speed bearing oil to both surfaces of the bearing after cleaning and spin the motor slowly to spread it around the bearing. I recommend re-oiling bearings every 1-2 months.
Bearing replacement:
Using a press or vice, press the bearings out of the stator. Repeat this in reverse to install new bearings. Bearings will usually not need replacement although heavy impacts can cause premature failure.
Bell replacement:
If any parts of the motor bell are deemed to be moderately damaged, it may require replacement. To do this, un-clip the circlip or undo the screw on the base of the motor shaft and separate the bell from the stator. This may take some force. Repeat the process in reverse to install a new bell.
Frame FPV Drone Maintenance
Checks
Visual inspection:
Check over your frame for fractures, frame twists, broken components, worn battery straps, bent standoffs, or anything out of the ordinary.[/vc_column_text][vc_row_inner][vc_column_inner width=”1/6″][/vc_column_inner][vc_column_inner width=”2/3″][vc_single_image image=”5701″ img_size=”full” alignment=”center” onclick=”link_image”][/vc_column_inner][vc_column_inner width=”1/6″][/vc_column_inner][/vc_row_inner][vc_column_text]
Screw torque check:
Check that each screw is tight. Tighten any loose screws and potentially secure with thread locker.
Cleaning
Dirt removal:
Use a dry bristled brush such as a paint brush or toothbrush for most areas. For hard to reach areas, use an air compressor.
Caked on dirt/grass removal:
Use a brush with water or ideally isopropyl alcohol as it is non-conductive and reduces the chance of damaging/corroding electrical components.
Maintenance
Damaged carbon component repair:
Splintered carbon fibre can be repaired using cyanoacrylate glue to re-adhere the fibres. Note that even with this repair, the carbon part will have less structural integrity than a brand-new component.
Damaged component replacement:
If any frame components look to be excessively damaged or weakened, they should be replaced to keep the frame in a flight-worthy state. Failure to replace damaged frame components can also lead to more expensive crashes when the frame fails to adequately protect the central electronics.
Electrical FPV Drone Maintenance
[/vc_column_text][vc_row_inner][vc_column_inner width=”1/6″][/vc_column_inner][vc_column_inner width=”2/3″][vc_single_image image=”5700″ img_size=”full” alignment=”center” onclick=”link_image”][/vc_column_inner][vc_column_inner width=”1/6″][/vc_column_inner][/vc_row_inner][vc_column_text]Most FPV drone maintenance electrical checks require the use of a multi-meter. My article on FPV drone electrical checks goes in depth discussing how to use a multi-meter.
Checks
Overall visual inspection:
look for short circuits, missing components, blown capacitors, frayed wires, unplugged connections or bad solder joints. If you detect any of these, they should be fixed immediately.
Solder joint check:
Check each solder joint to ensure that it is strong and separated from other solder joints. A bad solder joint will need to be re-soldered. If you have trouble with soldering, you can read this article on soldering like a champion.
Electrical continuity check:
Like checking motor continuity with the frame, set your multi-meter to continuity mode. Touch one probe to the frame and the other to the positive/negative battery terminals. There should be no continuity between the frame and either of the battery terminals. If there is, perform another visual inspection of the drone to find where any electronics are contacting the frame. Common continuity sources include worn wire insulation coatings, loose wires, or metal stack screws touching an ESC/FC solder pad.
Video transmitter power check:
Power up the drone and using a power meter, check that the video transmitter is outputting the correct power level. If the transmitter is outputting significantly lower than its selected setting, it may need replacement.
Receiver range test:
Power up the drone and your transmitter. Put your transmitter into range test mode and begin walking away from your drone. You should be able to walk 30-50 metres (100-165 feet) away from the drone before it goes into failsafe mode. If the drone failsafe’s relatively close to the transmitter, consider repositioning your antennas or replacing the receiver.
Failsafe test:
Power up the drone without propellers and arm it. Power off the controller to check if the drone goes into the correct failsafe mode. For race pilots, a failsafe should disarm the drone almost instantly. For long range pilots, a failsafe should usually either engage return to home mode (if using a GPS) or a hover mode. Check your failsafe settings on your transmitter and in Betaflight if the drone does not failsafe correctly. You can read my guide on FPV drone antenna placement for more information.
FPV image inspection:
Power up your drone and goggles and place the drone outside in the sunlight. Observe the colours in the FPV feed on your goggles to determine if the image has good saturation, white balance, contrast and exposure. If not, these can be adjusted in the camera’s on-board menu.
Cleaning
Removing dirt/grass:
Use an isopropyl alcohol spray or wipe with a soft brush or paper towel to remove dirt from electrical components. Do not use water as it is conductive and can short out the electronics.
Battery FPV Drone Maintenance
To keep track of my batteries and simplify future FPV drone maintenance, I label each of my packs with a number and date of purchase. This way, if one underperforms, it is easy to identify.[/vc_column_text][vc_row_inner][vc_column_inner width=”1/6″][/vc_column_inner][vc_column_inner width=”2/3″][vc_single_image image=”5702″ img_size=”full” alignment=”center” onclick=”link_image”][/vc_column_inner][vc_column_inner width=”1/6″][/vc_column_inner][/vc_row_inner][vc_column_text]
Checks
Cell balance check:
Using a charger or LiPo battery meter, ensure that the cells on each of your battery packs are moderately balanced. An un-balanced battery pack should be balanced on the charger. A battery pack that continually becomes imbalanced should be disposed of or set aside as a practice pack.
Internal resistance check:
On the charger, check the internal resistance of the battery pack. This can usually only be done whilst charging. Most new chargers should have this feature however older models may not. A good quality battery will have an internal resistance lower than 10 milliohms per cell. Once the internal resistance exceeds 20 milliohms, I will usually retire the battery.
Battery age check:
Check the age of each of your batteries by observing the date you wrote on it when purchased. If you have not done this type of FPV drone maintenance before, I would highly suggest starting it. Over time, batteries lose performance and the ability to quickly discharge, hence why it is important to differentiate new packs from old packs. You should use newer packs for racing to maximise performance and older packs should be used for practice.
Final Word
By implementing these FPV drone maintenance routines, your drone’s performance and longevity should be maximised. Regular FPV drone maintenance can also save you money as preventative maintenance is a lot cheaper than component replacement. But after reading this article if you still choose to ‘send it’ anyway, good for you and I’m glad that you’re enjoying the hobby to the fullest.[/vc_column_text][/vc_column][/vc_row]