

Breaking your gear while using it can be frustrating, but breaking it before you use it can be even worse. Chances are, you’ve flown in places besides your yard, or even brought your miniquad and FPV gear on a trip-but how much did you think about how you were going to pack it all up? This article will explain all about how to pick and pack a backpack, how to protect your FPV gear, and some other transportation tips.
This article was submitted through the GetFPV Community Program by JasonFPV. You can check out more of his content at his YouTube.
Disclaimer: This article was written solely by a member of the FPV Community. Views and advice in this article are that of the author and does not necessarily reflect the opinion or views of GetFPV.
Picking a Backpack
There are a few main things to think about when buying a backpack, or other bag: its size, if it’s comfortable to wear, and how well it fits and protects your gear. My first high quality backpack was very big and very comfy, but wasn’t at all designed for electronics, and so it was quite hard to protect my gear and my solution was very space ineffective. Keep in mind how easy, or hard, it will be to protect all your gear without having to put in lots of foam. To start with, try to stay away from cheap, hiking bags on amazon, regardless of how many “features” or accessory loops they may have. Often these bags have low quality stitching and zippers that break quickly. Instead, I suggest looking at electronics or camera-based bags. If you have a lower price point, these backpacks, while smaller, are one of your best options. If you have a larger budget, you might consider a more expensive backpack built exclusively for miniquads from a name brand company, such as Think Tank, Torvol, or Lowepro. Many of these high end backpacks are available on GetFPV here: https://www.getfpv.com/catalogsearch/result/?q=backpack and will be much more effective at transporting tools and other equipment on long trips than a smaller DSLR camera bag.
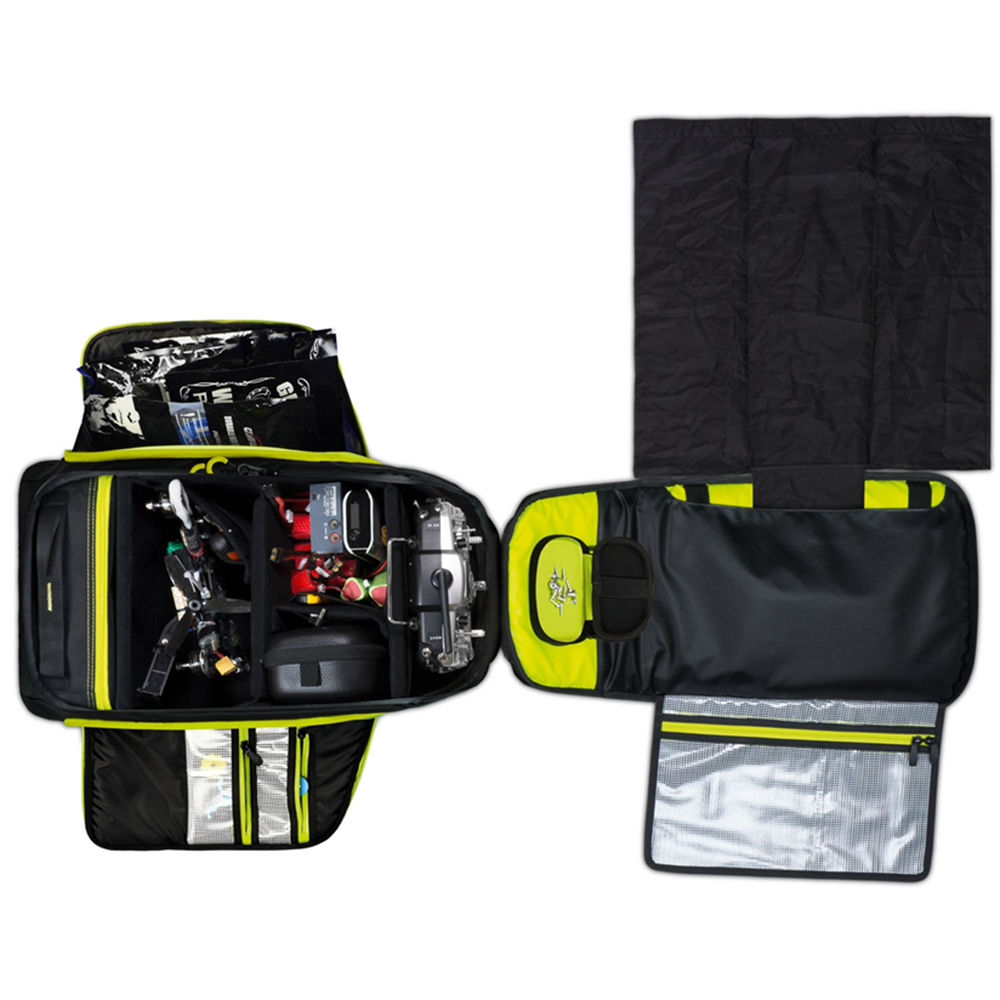
This is an opened Torvol Pitstop backpack, with lots of room for tools and spare parts, but a high price point of $199.99.
Packing a Backpack
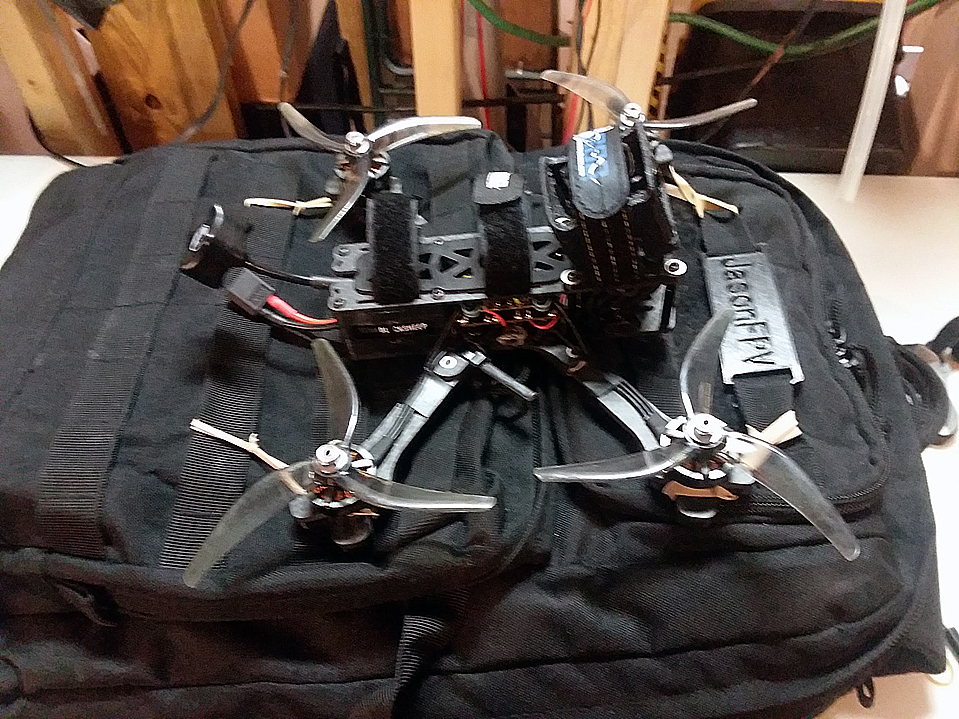
When packing your backpack, your main priority is to protect everything inside, but a close second is to make everything inside as easily accessible as possible. This means you can’t pack little bits of foam all over the place like I used to do. They will be blown around in the wind outside and you have to put them all back when you are ready to leave. Depending on the kind of bag you have, you might have to do more work making custom inserts for whatever you put in the bag. I suggest starting with figuring out how you want to put in your goggles, transmitter, and charger. Usually, 3” and larger quads are strapped to the outside of the backpack, using rubber bands or velcro straps. It depends on the type of frame and backpack you have, but I like putting rubberbands around the tips of my source one frame like this:
Protecting the Sensitive Parts of FPV Gear
When packing gear, I’ve learned that some things require more padding than others. Tools and props require very little padding, but a transmitter (controller) requires much more, to avoid breaking the gimbals, switches, and antennas. However, just because tools don’t need lots of padding, it doesn’t mean that other parts don’t need increased padding to protect from scratches from a soldering iron. It may take some time to figure out where everything goes in your backpack, but it might help to start with this list of things that require, or don’t require, lots of protection. Also, remember that the more foam and dividers you add in, the more you will have to take out and sort through when you want to fly, and the more space taken up in the bag. Sometimes you can buy purpose built protectors and cases, such as this transmitter cover.
Flying on an Airline with a Drone
When flying on an airplane with a drone, there are two main things that TSA/security is concerned with: sharp objects and batteries. All sharp objects and tools should be in checked baggage, and batteries should be packed individually, such as in plastic bags, not charged, and in carry-on baggage. Also, make sure it is easy for someone to look through your bags. Le Drib has a great video on all of this here: https://www.youtube.com/watch?v=MMs0gSD10eM .
My Experience
The first “drone backpack” I bought was a really cheap hiking sort of backpack from eBay, and worked… at first. It had lots of those loops on the outside that make attaching things to it super easy, but on the inside it was pretty small, had low quality stitching, and the zippers midway through a hike in the rain when I was using it for hiking. After deciding this backpack wouldn’t hold up for a trip to Colorado and wouldn’t protect the quad strapped to it while in a car, I started using a plastic toolbox, which was, quite literally, just a plastic box with a lid and handle. I keep packaging foam and other stuff around for things like this, so I arranged everything inside with foam inserts. The issue was, whenever I attempted to fly, it would take a while to get everything unpacked and even longer to repack it.
After this, I realized that my biggest issue was how to protect my equipment without making it difficult to pack up, especially the charger. I bought a bigger, higher quality hiking backpack for about $50. It was a great backpack, but it was in no way designed for electronics as it had no hardshell at all, so I had to make my own. The result was using a yard sign, insulation foam, and lots of hot glue to make my own set of dividers. I was actually quite happy with the turnout, especially with my integration of the PSU and charger, setup so I can plug in the batteries and power wire to the wall and start charging batteries without having to move the charger or do any setup at all.
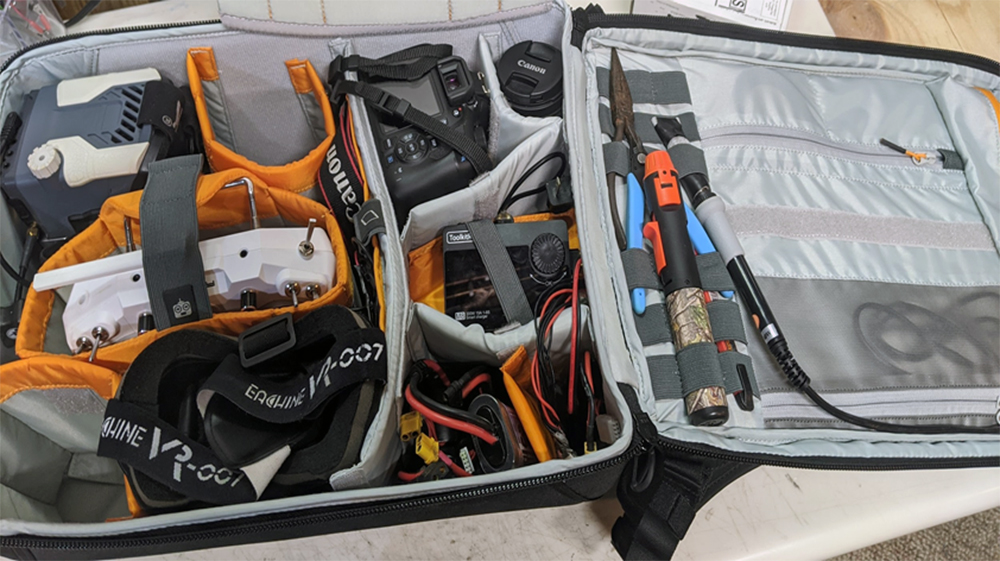
Very recently, I bought a Lowepro BP400 backpack, which has more of a plastic hardshell and comes with dividers, which worked really well. I did a similar charging setup and found out that I could include more things into the backpack, namely my DSLR camera, while keeping a slightly smaller total volume, probably because it was easier to orient things like my transmitter. At the end of the day, I simply suggest you get a name-brand backpack, because the cheap ones will fall apart. If you’re not able to get a purpose-built drone backpack, you can still make do with other things, but you might have to put more work into it.
Happy flying!
-JasonFPV