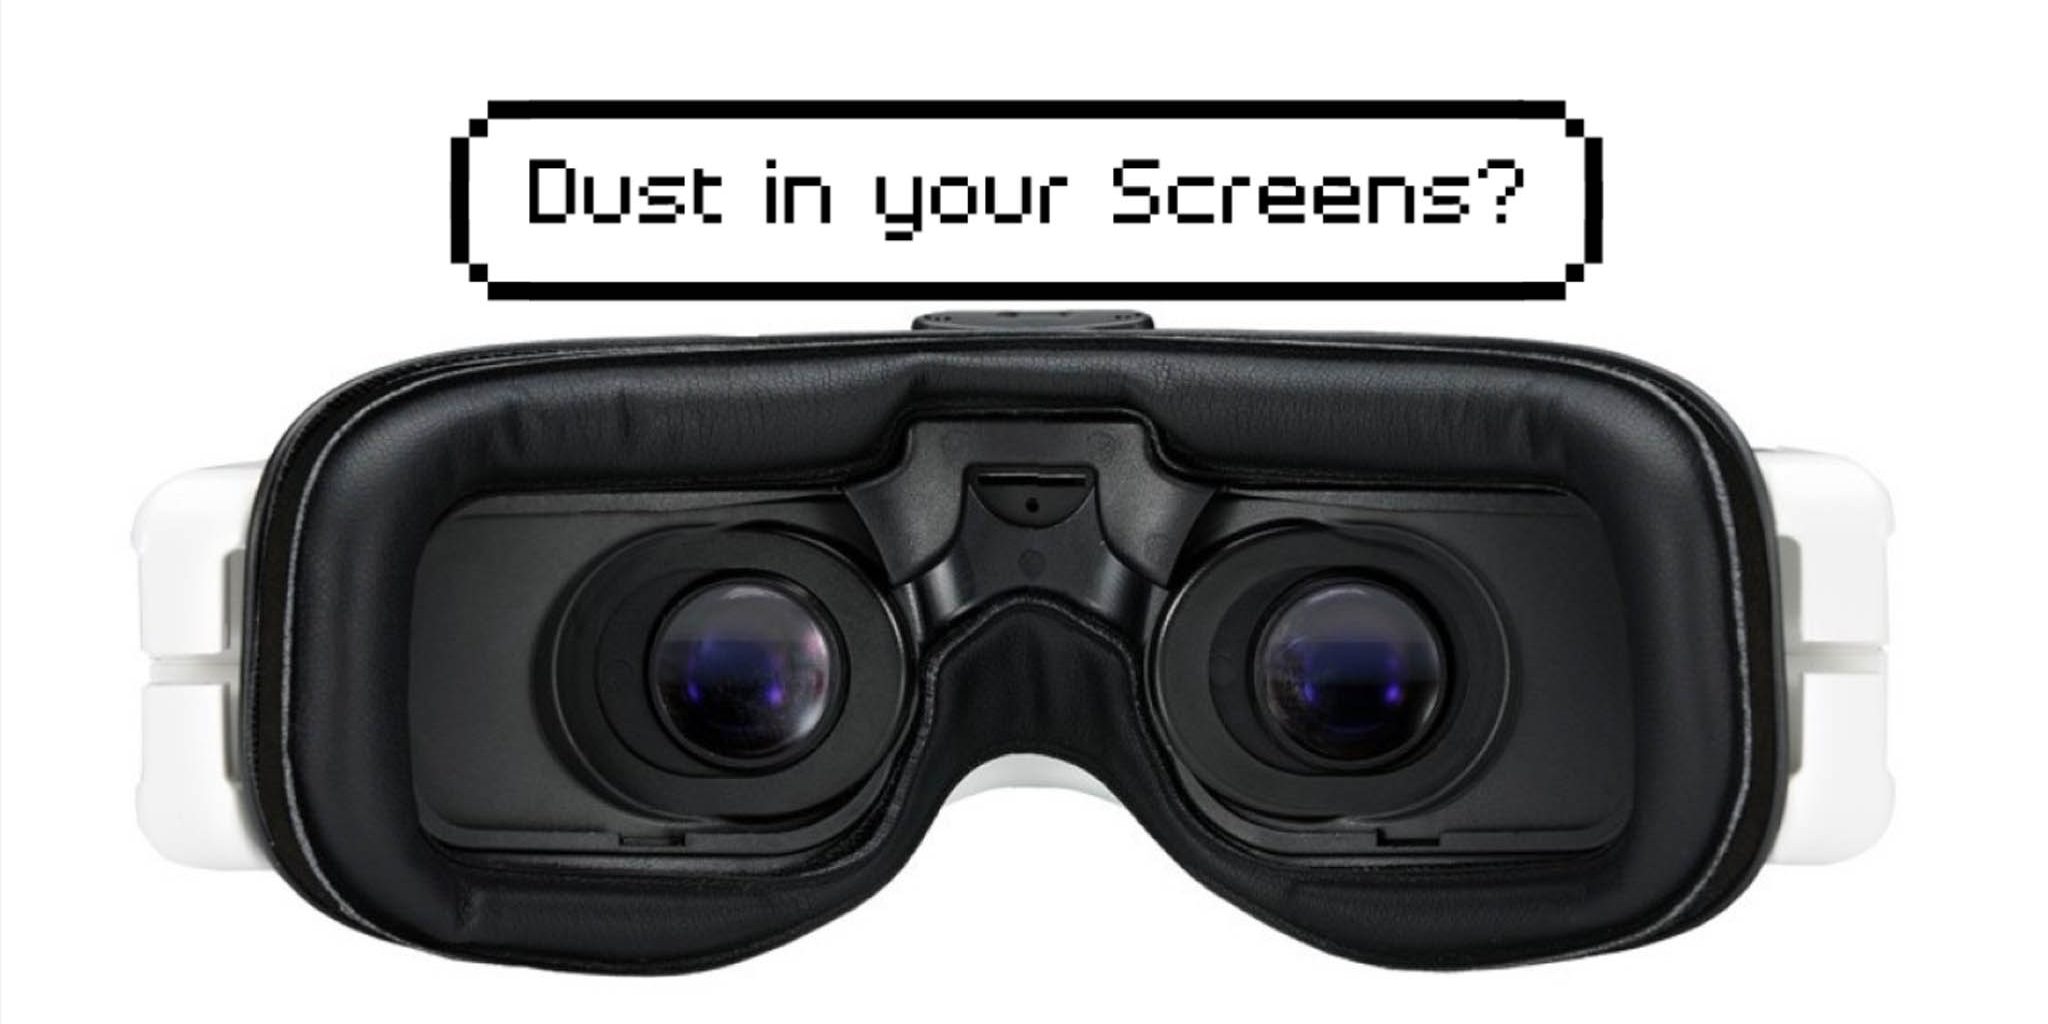
Ever get that one annoying little speck of dust in your FPV goggles? It always seems to get stuck between the screen and lens, leaving a dot, streak, or mark in your vision that can be rather distracting. In this article, we’ll go over how to remove dust from your Fatshark HDO2 goggles in a safe, reliable manner.
This article was submitted through the GetFPV Community Program by Lawrence Ro. You can check out more of his content on YouTube.
Disclaimer: This article was written solely by a member of the FPV Community. Views and advice in this article are that of the author and does not necessarily reflect the opinion or views of GetFPV.
Getting Ready
There are a few important tools needed to perform this repair:
- Phillips screwdriver set
- Flat head screwdriver (small)
- Tweezers
- Compressed air
Faceplate and Receiver
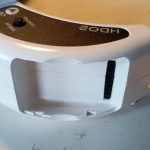
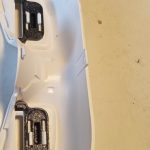
The faceplate can be removed by gently unclipping the sides and then lifting the plastic piece away from the goggles. Be very careful here, because if you pull from the wrong angle, one of the clips securing the faceplate may break!
Next, remove the receiver module and head strap. This will allow for easier disassembly and prevent and damage to your receiver during repair.
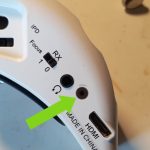
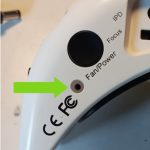
Once that is finished, you can begin removing the two screws which are located between the headphone jack and HDMI port, and the screw next to the power button. A thinner screwdriver is needed for this, since the screws are set deeply in the goggle case.
Shell Removal
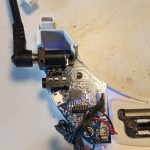
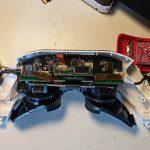
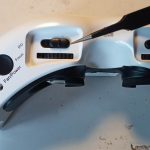
Now, remove the top shell (the one with the channel/volume buttons). This is difficult to do the first time, so be patient. Gently work your way with a flat-head screwdriver to unclip the plastic casing clips. I would recommend starting with the edges of the goggle before moving to the center, and then to the full removal of the outer shell. One difficulty I had in this was removing the shell around the receiver module. I found that the shell had to be pressed at a certain angle to allow the headers to be removed. When finished, the full internals of the goggles should be in view.
Screen Removal
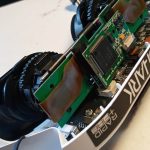
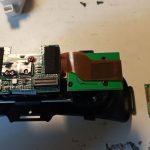
Next, carefully remove the screens. This includes the two PCBs attached to the optics. When you are finished, you should see one PCB connected via pin headers to another board, which is then attached to the optics via ribbon cables. These are very delicate parts, so make sure to handle them carefully.
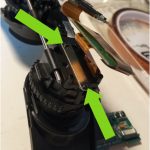
To remove, simply press the black tabs next to the optics, and then pull the optics up. This will disengage some of the securing clips, freeing the optic assembly for removal.
Slowly pry the top PCB off, applying even pressure to separate the boards.
Next, remove the screw securing the second board.
Dust
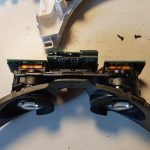
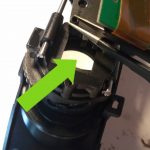
You should now see two very small screws on a metal bar behind the OLED displays. Unscrew these two screws and gently remove the plastic backing. The OLED display and optics should be fully accessible now. Use the compressed air to clear out any dust particles. Do not use a microfiber cloth for this, because it will usually deposit dust and oil on the screens even though they are used for removing fingerprints and dust.
Quickly close and reassemble the screens, since dust, dirt, and other particles can easily enter the longer you keep the optics open.
Reassembly
After cleaning out any offending particles from the optics, reassemble the goggles. This is relatively straightforward, but there are a few things to note while doing this. Remember to properly align up the IPD adjustments to the screens themselves. I found it easiest to move the IPD adjustments to the minimum, and then to push the OLED screens together. This aligns the screen tabs with the IPD adjustment tabs.
I also recommend powering the goggles up and setting input to HDMI. This will output a blue screen, where it is easy to see if there are any dust particles left. The static of the receiver module can be distracting, and the black menu screen sometimes hides dust. If you see any articles, remove the display assembly and use more compressed air to blow out the dust.
Conclusion
Even though a stray dust particle can be annoying, the fix is straightforward and relatively simple. Make sure to take your time and be patient. Your goggles should be nice and clear now, with no particles obstructing your view. So what are you waiting for? Go outside and fly with your clean screens!
Happy Flying,
Lawrence



Hello after i done this my vision is not sharp as before..