

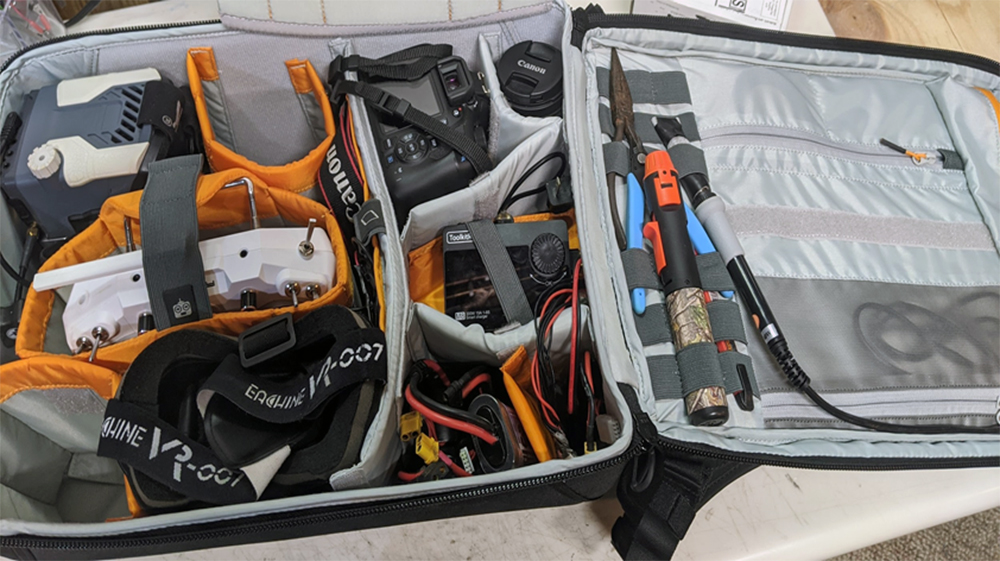
Every FPV pilot wants a quad that just works. No random failsafes, no unexplained motor heat, and no mystery desyncs halfway through a pack. The truth is, reliability in FPV rarely comes from luck – it comes from habits.
FPV drones operate in harsh environments. They vibrate constantly, pull huge current, smack into objects at speed, and get exposed to dirt, moisture, heat, and cold. Most failures are not dramatic component defects – they’re small mechanical or electrical issues that were quietly building over time.
The difference between pilots who are always fixing broken quads and pilots who mostly just fly comes down to routine maintenance, not obsessive bench work. Just consistent, smart checks at the right times.
This guide lays out a realistic, experience-based maintenance routine – the same structure used by professional pilots, racers, and long-term freestyle flyers who depend on their gear to be predictable.

1. Pre-Flight Checks (Before Every Flight Session)
These checks take less than a minute and prevent a large portion of in-air failures.
1.1. Quick Frame and Hardware Check
Before plugging in, give the quad a fast once-over:
- Any visible cracks in the arms or center plates?
- Any standoffs that spin or feel loose?
- Camera plates that have shifted?
- TPU mounts that feel torn or overly soft?
- Missing screws?
- Props that show stress marks or edge chips?
Carbon almost never fails instantly—it weakens first. If something looks borderline, it usually is.
1.2. Motor Mounting Check
Motor screws slowly back out from vibration and hard landings. You don’t need to retorque everything before every pack, but you should:
- Spot-check motors regularly
- Always use blue Loctite on motor screws
- Make sure no screw is contacting the windings
A motor that’s even slightly loose can introduce vibration affecting both tuning and reliability.
1.3. Prop Inspection
Props are consumables. Treat them that way.
Look for:
- Chips on the leading edge
- Stress whitening near the hub
- Bent tips
- Hairline cracks
If a prop took a decent hit and you’re unsure, replace it. Props that “look fine” cause a surprising number of ESC, motor, and tuning issues.
1.4. Battery Condition Check
Before strapping in:
- Check for puffing
- Confirm balance lead is intact
- Make sure the main lead insulation isn’t damaged
- XT60/XT30 connector should feel solid
If a pack feels questionable in your hands, it shouldn’t be in the air.
1.5. Power-Up and Audio Check
When you plug in, listen:
- Normal ESC startup tones
- No abnormal beeping
- No high-pitched electrical whining
- No unusual noise when moving the quad
Audio often reveals issues before anything looks wrong visually.

2. In-Flight Monitoring (During Every Pack)
Experienced pilots don’t just react—they observe patterns while flying.
2.1. Voltage Behavior
You should mentally note:
- How hard voltage sags under throttle
- How well it recovers after punch-outs
- If one pack suddenly performs worse than the rest
Sudden changes often point to aging batteries, stressed solder joints, or power system issues.
2.2. Motor Sound
Motor pitch tells you a lot:
- A bent prop creates uneven harmonics
- A failing bearing adds metallic whine
- A damaged magnet causes harsh vibration
- A loose arm changes tone under load
Your ears are one of the best diagnostic tools you have.
2.3. Video Stability
Video issues usually mean something physical changed:
- Horizontal lines → noise or power filtering issues
- Rolling interference → VTX power stability
- Sudden static bursts → antenna or connector problems
- Jello under load → prop, motor, or mounting vibration

3. Post-Flight Checks (After Each Session)
This is about catching wear before it becomes failure.
3.1. Motor Temperature Check
After landing:
- Warm motors → normal
- One motor hotter than the rest → needs attention
- Motors are too hot to touch → stop flying and investigate
Heat is the earliest warning sign of many electrical and mechanical problems.
3.2. Debris Removal
You don’t need to “deep clean” every time, but you should:
- Pull grass from motor shafts
- Blow off loose dirt
- Clear sand if you flew in dusty areas
Debris dramatically accelerates bearing and electronics wear.
3.3. Power Connector Inspection
Check battery connectors for:
- Heat discoloration
- Loose fit
- Soft or melting insulation
- Stressed solder joints
Power connections are one of the highest-risk failure points in any FPV build.

4. Crash Checklist (Immediately After Any Impact)
Crashes are where most maintenance happens. Never plug in immediately after a crash without checking the quad.
4.1. Props First
Even small impacts can damage props in ways that aren’t obvious.
- Replace any prop that took a hit
- Micro bends cause vibration and excess current draw
4.2. Motor Spin Test
Spin each motor by hand:
- Smooth rotation is normal
- Grinding indicates bearing damage or sand between magnets
- Clicking often means a bent shaft
- Tight spots may indicate magnet damage or stuck sand
If a motor feels wrong, it shouldn’t get sent again. You can always try to salvage parts from it.
4.3. Arms and Carbon
Look for:
- White stress marks
- Delamination
- Cracks near motor mounts
- Arm bolts that loosened during impact
Carbon frequently fails progressively, rather than instantly.
4.4. Electronics Inspection
After a crash, look closely for:
- Bent or cracked capacitor leads
- Battery wires pulled at the solder joint
- RX or VTX wires partially unplugged
- USB ports that took direct impact
If something shifted, fix it before power is reapplied.
4.5. Battery Post-Crash Check
If the battery hit:
- Squeeze for soft spots
- Check for punctures
- Check balance lead integrity
- Feel for unusual heat
Questionable packs get sidelined immediately.

5. Weekly Maintenance (After Multiple Sessions)
This is light preventative maintenance—not a teardown.
5.1. Hardware Tightening
Over time, vibration loosens:
- Motor screws
- Arm bolts
- Camera mounting
- Stack hardware
If anything feels loose, it gets secured before the next flight.
5.2. General Cleaning
This is more general cleaning:
- Blow off ESC and FC
- Wipe off exposed surfaces
- Remove debris from motor gaps
Dust and grime trap heat , reducing component life.
5.3. Capacitor Inspection
You’re checking for:
- Lead fatigue from vibration
- Heat shrink damage
- Physical deformation
A failing capacitor doesn’t just add noise – it stresses your entire power system.
5.4. Receiver and VTX Connections
Confirm:
- Antennas are tight
- U.FL/MMCX connectors are seated
- SMA connectors are not rotating freely
- Heat shrink is intact
A loose antenna can destroy a VTX in seconds.
5.5. Motor Bell Inspection
Look for:
- Debris in the bell gap
- Magnet shift
- Loose C-clips
- Physical dents
Flying in sand or dust accelerates motor wear significantly.

6. Monthly Maintenance (Deeper Inspection)
This is where you slow down and properly assess your quad’s health.
6.1. Solder Joint Review
Inspect and reflow any joints that show:
- Cracks
- Dull surfaces
- Physical movement
Battery pads, capacitor leads, and power wires are the most common stress points.
6.2. Gyro and Accelerometer Check
Recalibration makes sense after:
- Tough crashes
- Full frame replacements
- Stack removal
Modern IMUs are stable, but mechanical shock can still affect mounting alignment.
6.3. Battery Internal Resistance Check
Using your charger or a checker:
- Track rising internal resistance
- Watch for one cell drifting from the pack
- Retire packs that no longer hold current well
This prevents in-air brownouts and inconsistent performance.
6.4. Firmware Review (When Needed)
Firmware should be updated only when:
- Fixing a real issue
- Supporting new hardware
- Addressing known bugs
If everything is flying perfectly, unnecessary updates only introduce risk.

7. Long-Term Maintenance (Every Few Months)
This is about managing wear, not replacing parts just for the sake of it.
7.1. Motor Bearing Health Monitoring
Bearings are replaced when they show symptoms:
- Rising motor temperatures
- Increased vibration
- Metallic mid-throttle noise
If you see any of these symptoms, it’s better to replace the bearing or motor.
7.2. Antenna Replacement
Antennas fatigue from crashes over time.
Replace when:
- Heat shrink is cracked
- Coax is kinked
- SMA connector spins freely
A new antenna often prevents expensive video system failures.
Periodic retuning restores performance and efficiency.

8. Maintenance for Specific Environments
8.1. Ocean and Coastal Flying
Salt air accelerates corrosion rapidly.
Best practices:
- Wipe frame with damp cloth after salt exposure
- Dry completely
- Protect solder joints with corrosion inhibitor (never on the gyro)
Salt damage is slow, silent, and destructive.
8.2. Sand and Dust
Sand destroys:
- Bearings
- Sensors
- Connectors
Minimize exposure and clean immediately after flying.
8.3. Snow, Rain, and Moisture
Moisture leads to:
- Corrosion
- Shorts
- Video interference
Waterproofing and conformal coating are essential for wet environments.
9. Tools Every Serious FPV Pilot Should Carry
Must-Haves
- Blue Loctite
- Isopropyl alcohol
- Cotton swabs
- Electrical tape
- Zip ties
Nice-to-Have
- Internal resistance checker
- Bearing lubricant
- Precision torque driver
- Multimeter
Good tools reduce downtime more than any single upgrade.

10. The Real Routine at a Glance
Before Each Flight
- Quick frame and prop check
- Motor screw spot-check
- Battery condition
- Antenna connections
- Normal startup sounds
During Flight
- Voltage behavior
- Unusual vibration
- Video stability
After Each Session
- Motor temperature
- Debris removal
- Battery strap condition
Weekly
- Hardware tightening
- General cleaning
- Capacitor and antenna inspection
Monthly
- Solder joint review
- Battery IR check
- Firmware review if needed
Every Few Months
- Bearing assessment
- Antenna replacement if fatigued
- Retune if performance has shifted
Final Thought: Maintenance Is What Keeps You Flying
Most FPV failures are preventable. They don’t come from catastrophic defects—they come from overlooked details. Consistent maintenance doesn’t just save parts. It saves time, money, and frustration.
A quad that’s looked after properly will:
- Fly more predictably
- Run cooler
- Fail less often
- Costs less to maintain over time
That’s the difference between constantly repairing and consistently flying.