

Searching for how to complete the FrSky QX7 Crossfire mod? Well check out the video submitted by James, AKA RidiFPV via the GetFPV Community Program to help guide you through the installation![vc_row][vc_column][vc_video link=”https://youtu.be/kbAEn1fvUYo”][/vc_column][/vc_row][vc_row][vc_column][vc_column_text]
You can check out more of RidiFPV’s content at his YouTube.
Disclaimer: This video was produced solely by a member of the FPV Community. Views and advice in this video are that of the creator and does not necessarily reflect the opinion or views of GetFPV.
[/vc_column_text][/vc_column][/vc_row][vc_row][vc_column][vc_column_text]
Step by Step Guide
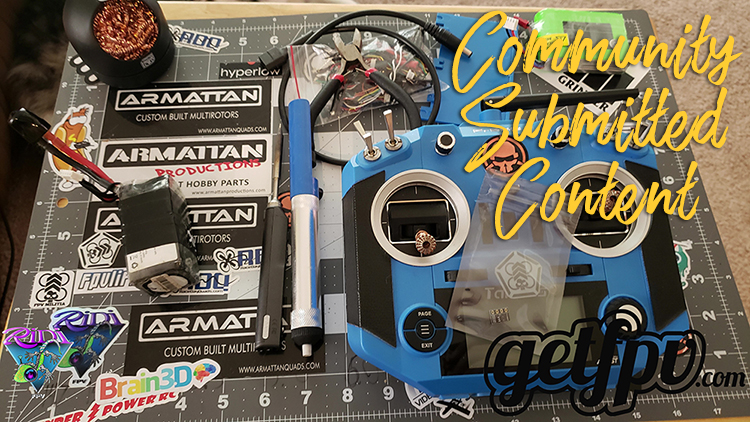
Step 1: Pull the battery cover off of the transmitter and remove battery.
Step 2: Remove the four Philips head screws holding the housing together. They are located at the top corners of the transmitter and in the bottom corners of the battery bay. (Set these aside in a safe place)
Step 3: Remove the eight screws on the bottom PCB to free it from the transmitter housing.
Step 4: Locate and carefully desolder and remove the Q400 transistor and solder one wire to the single side pad of where the transistor once was.
Step 5: Add some double sided tape to the location where you wish the mod to live.
Step 6: Solder the ground and power to the pads of the capacitor located to the bottom left of the processor. Make sure you solder directly to the capacitor pads, and not to the single pads on either side of it.
Step 7: Solder your remaining wire to the input pin header (left-most header).
Step 8: Solder all wires to the inverter mod. Wire from Q400 goes to OUT, wire from the pin header goes to IN, and the wires from the capacitor go to GND (left side of the capacitor) and 3.3V (right side of the capacitor) respectively.
Step 9: Replace all screws and close up the radio! Your FrSky QX7 Crossfire mod is complete!
[/vc_column_text][/vc_column][/vc_row]
Great video perfect details. What’s the reason for this mod just to be able to use Crossfire?
Thanks,
Rich
Yes, this will allow the QX7 to use Crossfire to it’s full capability.
Hi, yes attempting to use crossfire with the factory transistor will cause it to burn out. Happened to a friend of mine that disregarded the mod, now 800$ worth of equipment is at the bottom of a lake.
Hello here 🙂 any idea of how to do this mod on the qx7 2020 ACCESS version ?
The board is no longer the same….
Hey Richard
Did you ever succeed with this? I have the Taranis QX7 and i’m also struggling with if i need to do the mod because there is no Q400 transistor
I hav ethe same question as Richard howto solder the mod on a qx7 access transmitter the pdb is totaly different and nowhere to be found hoe to do that the baudrate of aan access resiever is more than an Accst but i dong know how Much is it plug and play ?..